Hair Care Tips
How To Put In Clip-in Extensions For Thin Hair: 4 Easy Steps
Clip-in hair extensions are an excellent solution for adding volume and length to thin hair, offering an instant transformation that boosts confidence. In this guide, we’ll walk you through the essential steps for applying clip-in extensions to thin hair, along with useful tips and tricks to help you achieve a natural, attractive look.
Key Considerations Before Applying Clip-in Extensions for Thin Hair
Before learning how to apply clip-in extensions to thin hair, it’s important to understand a few essential factors that will help you achieve a successful and natural-looking result.
Interesting Facts About Clip-In Hair Extensions
Clip-in hair extensions are versatile, temporary hairpieces that can be easily attached and removed from your natural hair. Available in various lengths, colors, and textures, they allow you to customize your look effortlessly to match your style.
One of the most appealing aspects of clip-in extensions is their ease of use. Unlike other types of hair extensions that require professional application, clip-ins can be applied and removed at home within minutes. This makes them a perfect option for both daily wear and special occasions due to their convenience.
With proper care, clip-in extensions can be reused multiple times, making them an affordable and valuable investment.
The Benefits of Clip-In Extensions for Thin Hair
Before learning how to apply clip-in extensions for thin hair, it’s important to highlight the key advantages these extensions offer:
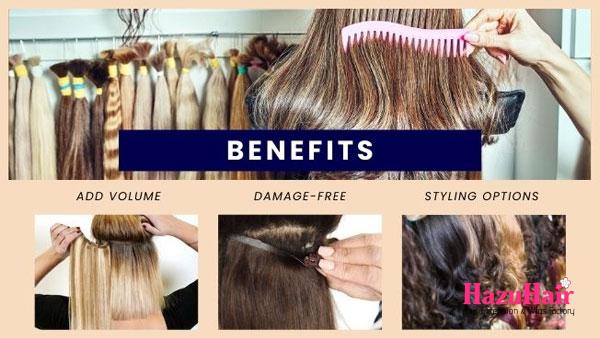
- Add Volume and Thickness: Clip-in extensions can instantly add volume and thickness to thin hair. The extra hair strands blend naturally with your own, giving the appearance of fuller, more voluminous locks.
- Damage-Free to Natural Hair: Unlike other methods like tape-in or weft extensions, clip-ins are gentle on your hair. They don’t require adhesive or heat application, which helps minimize the risk of breakage or damage, a crucial benefit for those with thin hair.
- Enhanced Styling Options: Thin hair often limits styling possibilities. Clip-in extensions provide added length and thickness, making it easier to try various styles, from straight and wavy to curly and kinky, without worrying about your hair appearing flat or sparse.
In summary, clip-in extensions offer a safe, easy solution for instantly achieving volume, length, and styling versatility, all while enhancing your confidence.
Essential Tools for Applying Clip-In Extensions to Thin Hair
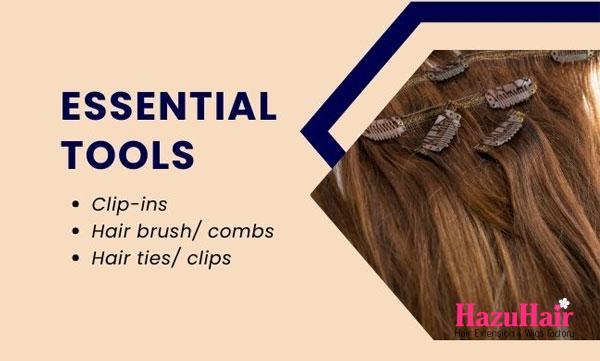
Before applying clip-in extensions, it’s important to gather the necessary tools for a smooth and seamless process. Here’s what you’ll need:
- Clip-in Hair Extensions: Choose extensions that closely match your natural hair color and texture for a flawless blend.
- Hairbrush: A soft-bristled brush is ideal for detangling without causing breakage, which is crucial for thin hair. Opt for brushes with natural bristles or high-quality detangling brushes.
- Fine-Tooth Comb: This is essential for precise sectioning. Thin hair needs a controlled application, and a fine-tooth comb helps create clean sections for weft placement, ensuring a natural finish.
- Hair Ties or Clips: Use these to secure sections of your hair while applying the extensions, making the process easier to manage.
Keep in mind that when selecting tools for thin hair, gentleness is key. Opt for soft bristles, fine-tooth combs, and lightweight materials to minimize pulling and avoid any unnecessary damage to your delicate hair strands.
4 Steps to Apply Clip-In Extensions for Thin Hair
Applying clip-in extensions to thin hair requires precision and care for a flawless, natural result. Follow these four simple steps to ensure a smooth and effective application.
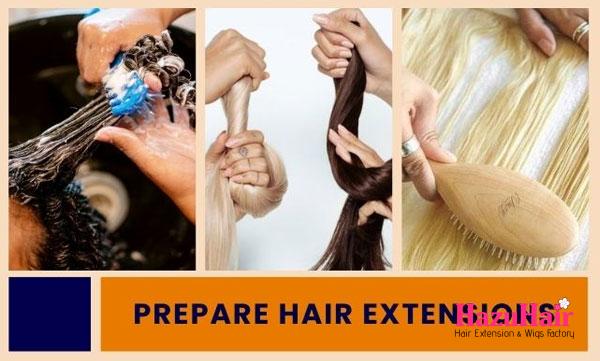
Step 1: Prepare Your Hair Extensions
Before applying your clip-in extensions, it’s essential to prepare them for a smooth and flawless process:
- Wash: Gently cleanse your clip-in extensions using a mild shampoo and conditioner to remove any dust or product residue. Rinse thoroughly and let them air dry completely before application.
- Dry: After washing, lay the extensions flat on a towel and let them air dry naturally. Avoid using blow dryers or heat styling tools, as excessive heat can damage the hair fibers and affect their quality.
- Brush: Use a soft-bristled brush or wide-tooth comb to carefully detangle the extensions. This prevents knots and ensures they are smooth for easy application.
Proper preparation ensures that your clip-in extensions are clean, tangle-free, and ready for a flawless result.
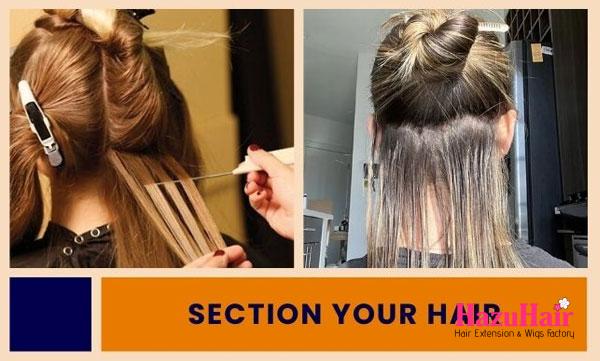
Step 2: Section Your Hair
To ensure your clip-in extensions blend seamlessly with thin hair, it’s essential to section your hair properly. Here’s how:
- Part your hair horizontally: Create sections where you’ll place the clip-ins. Use your finger or a comb to draw a horizontal line from your right temple to your left temple, sectioning off the top layer of your hair. Secure this portion with a hair tie or clip.
- For extremely thin hair: If your hair is very thin, take one-inch pieces from the lower section with a comb to maintain a secure hold for the extensions.
- Start with small sections: Especially in areas where your hair is thinnest, begin with smaller sections to help you control placement and avoid overwhelming your natural hair with the clips.
Proper sectioning creates a strong foundation for applying the extensions, ensuring even distribution and a natural blend with your hair.
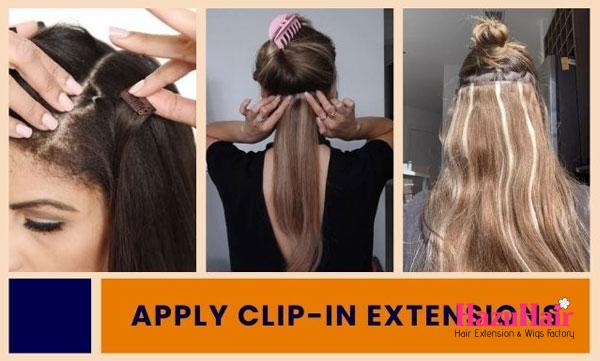
Step 3: Apply Clip-in Extensions
With your hair sectioned and ready, it’s time to attach the clip-in extensions. Follow these steps to securely apply them to your thin hair:
- Open the clips: Start by opening the clips on the extensions, making sure they are fully open and ready to be attached.
- Position the extensions: Begin with the bottom section of your hair. Place the first clip-in extension along the part, positioning it as close to your roots as possible for a natural look.
- Secure the clips: Once the extension is in place, press down on the clips to firmly secure them against your natural hair. Repeat this process with each clip-in extension until all sections are covered.
Properly attaching and securing the extensions will ensure they stay in place and blend smoothly with your hair, creating a flawless finish.
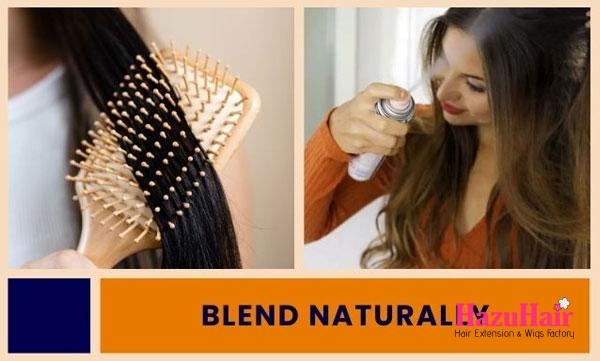
Step 4: Blend Extensions Naturally
After attaching all the clip-in extensions, blending them seamlessly with your natural hair is crucial for achieving a flawless look.
- Brush: Gently brush your natural hair over the wefts to blend everything together. This will help conceal the clips and create a more natural appearance.
- Style: Style your hair as desired to further integrate the clip-ins. You can use heat styling tools to curl, straighten, or wave your hair, ensuring that the extensions match your overall hairstyle.
- Hairspray: A light spray of hairspray can help secure the extensions and minimize any hair loss, particularly if you have very thin hair.
Once you’ve styled your hair, take a final look in the mirror and make any necessary adjustments to ensure that the clip-in extensions blend well and remain undetectable.
Choose High-Quality Hair Extensions for a Smoother Process
When learning how to apply clip-in extensions for thin hair, selecting high-quality extensions is crucial. A reputable supplier to consider is HazuHair, a well-known name in the hair extension industry in Vietnam.
- Established Vendor: HazuHair has been a prominent hair supplier in Europe and America for the past 10 years, offering a wide range of high-quality European human hair extensions, including clip-ins, to clients worldwide.
- Premium Materials: Our extensions are made from the finest raw virgin human hair sourced from Vietnam. Utilizing advanced processing technology and a team of highly skilled experts ensures that our hair products are in excellent condition and highly durable.
- Customization Options: You can fully customize your clip-ins to match your preferences, available in traditional colors like black and brown, as well as trendy shades like gray, gold, and blonde. They come in various textures, including curly, straight, and wavy.
- Competitive Pricing: A 12-inch single piece of black straight clip-in hair extensions from HazuHair Vietnam is priced at approximately $39. A direct manufacturer with no middlemen, we offer highly competitive prices.
With HazuHair clip-in extensions, you can achieve a seamless blend with your natural hair and effortlessly attain your desired look.

Mastering the technique of applying clip-in extensions for thin hair may seem challenging, but our comprehensive guide makes it simple. By following these four straightforward steps and opting for high-quality hair extensions from HazuHair, you can create a flawless, natural-looking hairstyle that elevates your confidence and enhances your beauty.
Contact HazuHair – Raw Vietnamese Hair Supplier
- Hair Factory: Tan Son 2 Village, Tan Dinh, Lang Giang, Bac Giang Province, Vietnam
- Hotline: +849 4949 3883
- Whatsapp Mrs ThanhLam: https://wa.me/84949493883
- Website: https://hazuhair.com