Hair Care Tips
How to Remove a Lace Front Wig
You may have seen plenty of guides on installing lace front wigs, but many overlook the equally important process of properly removing them. Unfortunately, removing your lace front wig incorrectly can damage the wig or even pull out your edges.
Since everyone needs to remove their lace front wig at some point, it’s essential for every wig wearer to know how to do it correctly. That’s why we’ve put together this complete guide on how to safely remove a lace front wig.
Products and Tools You’ll Need
To begin, gather the following items:
- Spray bottle with water and conditioner: Perfect for loosening got2b Glued spray or gel bonds, especially for those who prefer not to use alcohol.
- Rubbing alcohol: If you used got2b Glued spray or gel to secure your wig, alcohol can easily dissolve the bond.
- Glue/bond removal solution: Ideal for breaking down stronger adhesives or wig glue applied to your skin.
- Q-tips: Useful for applying products to your hairline without making a mess.
- Alligator clips or scrunchies: Handy for keeping your hair out of the way as you remove the adhesive.
- Rattail comb: To gently lift the lace from your skin if necessary.
- Wig stand: To safely store your wig after removal.
- Petroleum jelly: Can be applied to soften glue residue along your edges.
- Mild soap and water: To clean your skin after removal.
- Cotton balls: Useful for applying rubbing alcohol.
- Wig shampoo and conditioner: For cleaning and maintaining your wig after removal.
- Toothbrush: A great tool for cleaning your wig effectively.
How to Remove a Lace Front Wig: Step-by-Step Guide
Now that you have all the necessary supplies and tools, it’s time to get to the most important part—removing your lace front wig. Follow these easy step-by-step instructions to make the process smooth and effortless.
Step One: Sweep All Hair Away From the Hairline

The first step is to prep your wig for removal. Here’s what you need to do:
- Comb the wig hair backward to fully expose the lace around your hairline. This ensures you can safely and efficiently remove the wig.
- Lightly spray the hair with water to make it easier to handle.
- Use alligator clips or a scrunchie to secure the hair. Clips work best for shorter wigs, while a scrunchie is ideal for longer hair.
Step Two: Break the Glue and Adhesive
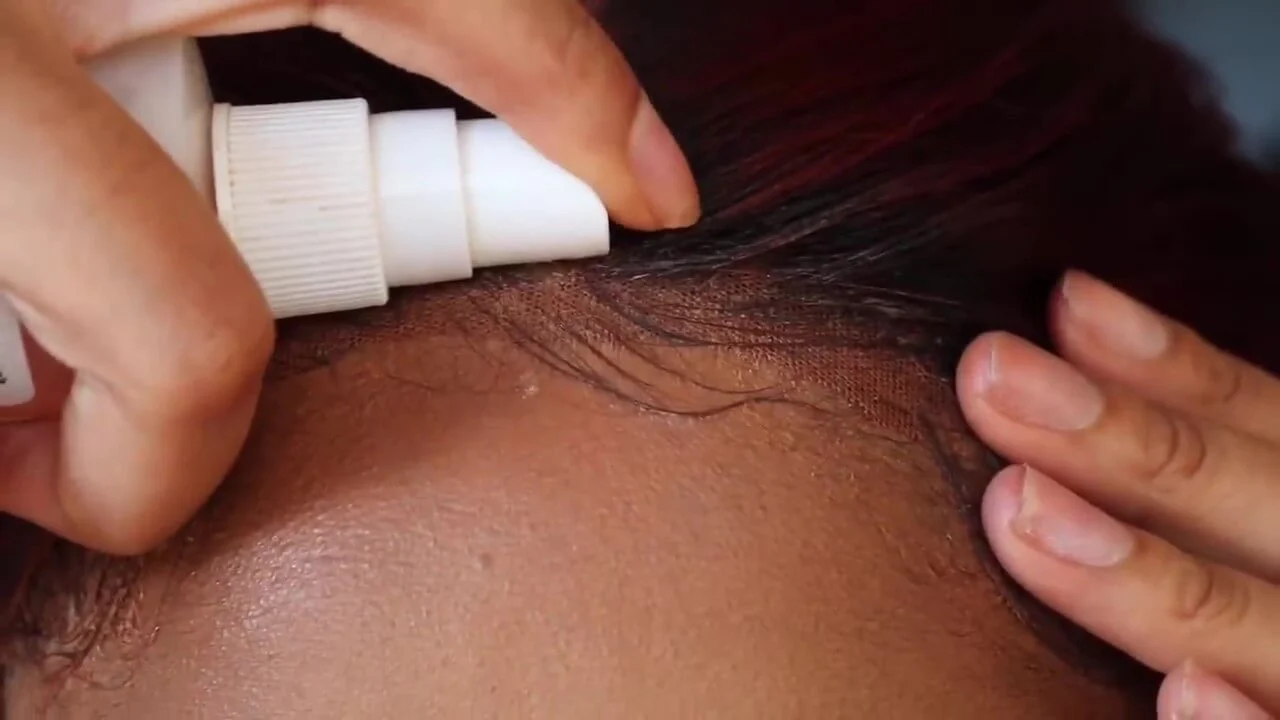
Now it’s time to loosen the lace around your hairline. Follow these steps to easily break the bond between the lace and your skin:
- Apply alcohol, a water and conditioner mix, or a wig bond remover to the lace around your hairline. For got2b Glued spray, use alcohol or the water/conditioner mixture. For stronger adhesives, use a bond removal solution.
- Make sure to apply enough of the product to fully saturate all areas where glue was applied, including the lace at the back of your neck.
- For precise application, use a Q-tip. If you’re okay with a bit of mess, a spray bottle will work too. Keep a washcloth handy to wipe away any excess.
- Gently rub the solution into the lace with your fingers to help loosen the bond.
- Wait for the recommended time according to the product instructions—usually about 10 seconds to a few minutes for bond removal solutions, or around a minute for alcohol or water/conditioner mixes.
Step Three: Peel the Lace Off
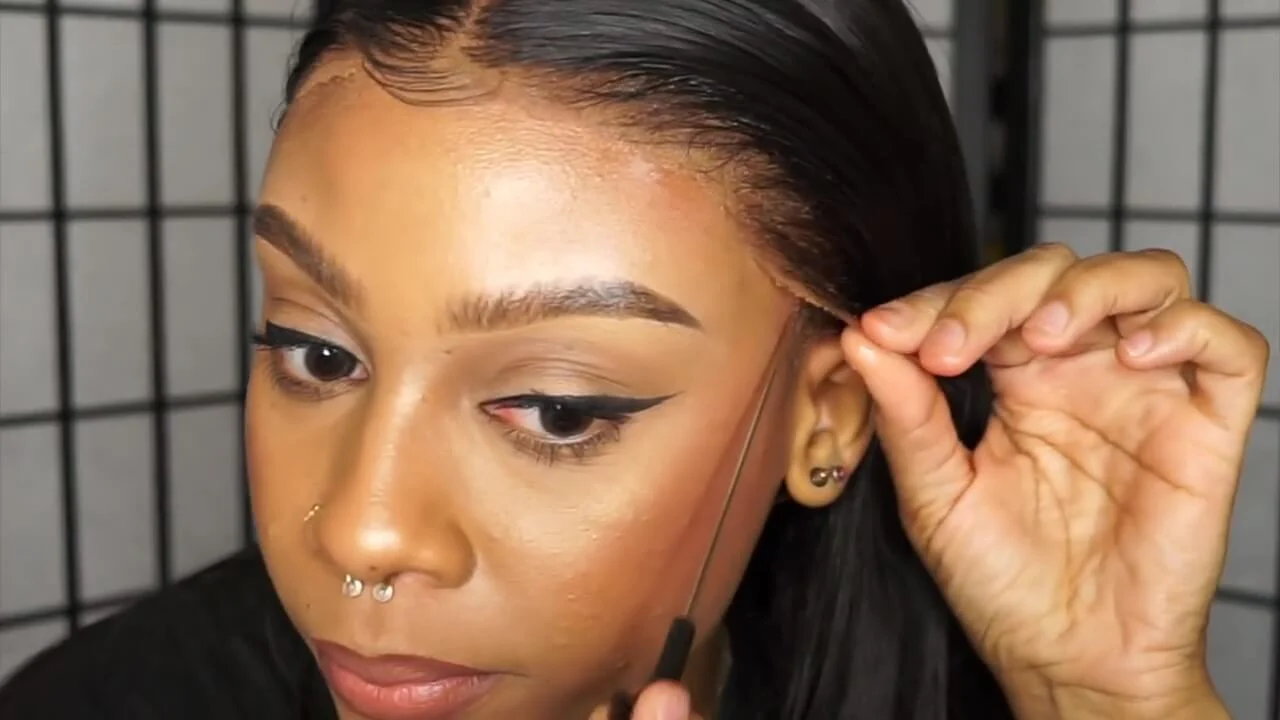
This is the most crucial step in removing your wig. Here’s how to do it safely:
- Ensure the adhesive bond has loosened. Test by gently lifting the front part of the wig—if the lace starts to lift, you’re ready to peel. If not, apply more product from Step Two.
- Use the straight end of a rattail comb, slipping it under the lifted lace. Gently slide the comb back and forth to peel the lace away from your skin.
- Avoid any forceful pulling—this could damage the lace, pull your hair, or harm your skin. If there’s any resistance, stop and apply more adhesive remover.
- Don’t forget to gently peel the lace away from the back of your neck.
Step Four: Remove the Lace Front Wig From Your Head
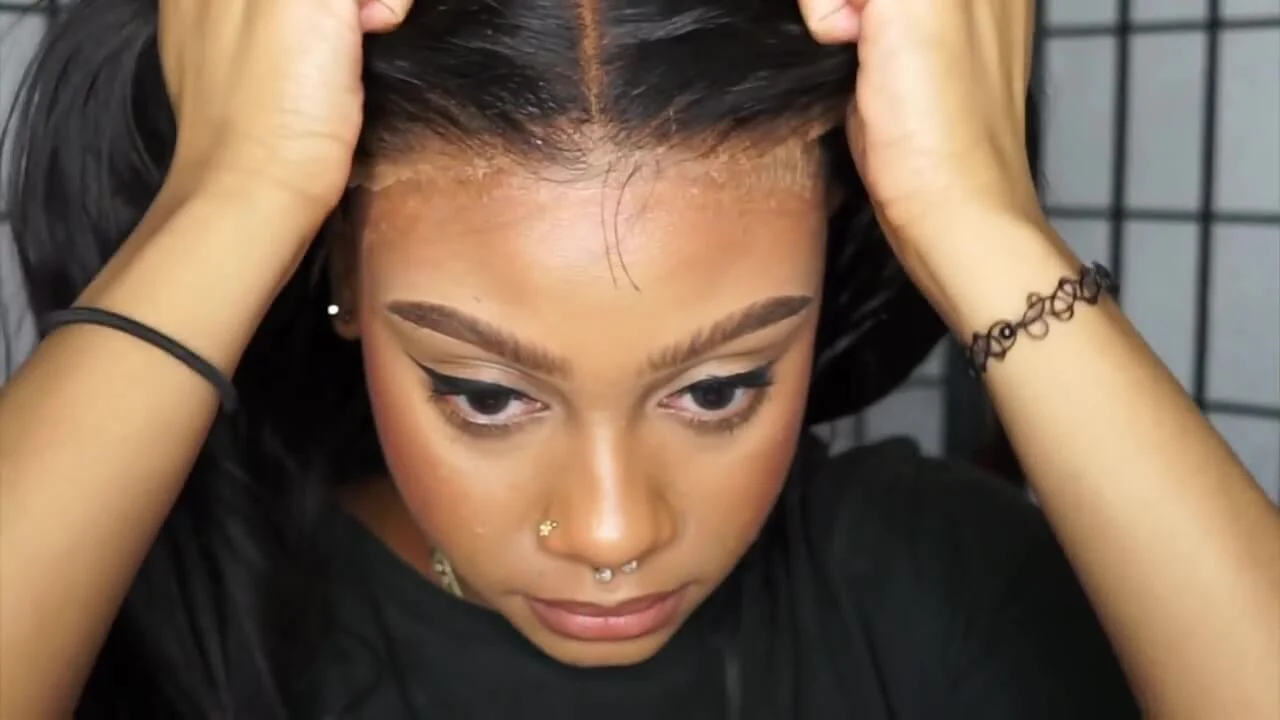
After peeling off all the lace, carefully loosen the wig clips and undo the wig strap (if you have one) before removing the wig from your head. Be gentle to avoid pulling or damaging your natural hair. Once removed, place the wig on a wig stand to maintain its shape.
Step Five: Take Off Your Wig Cap
Next, remove your wig cap. If no adhesive was used, simply take it off like a hat. If you used an adhesive spray, spray it with water, massage the area, and wait 15-30 seconds. Then, gently peel off the wig cap using your fingers. Wig caps are typically designed for one-time use, so it’s best to discard it after removal.
Step Six: Clean the Glue on Your Skin and Hair
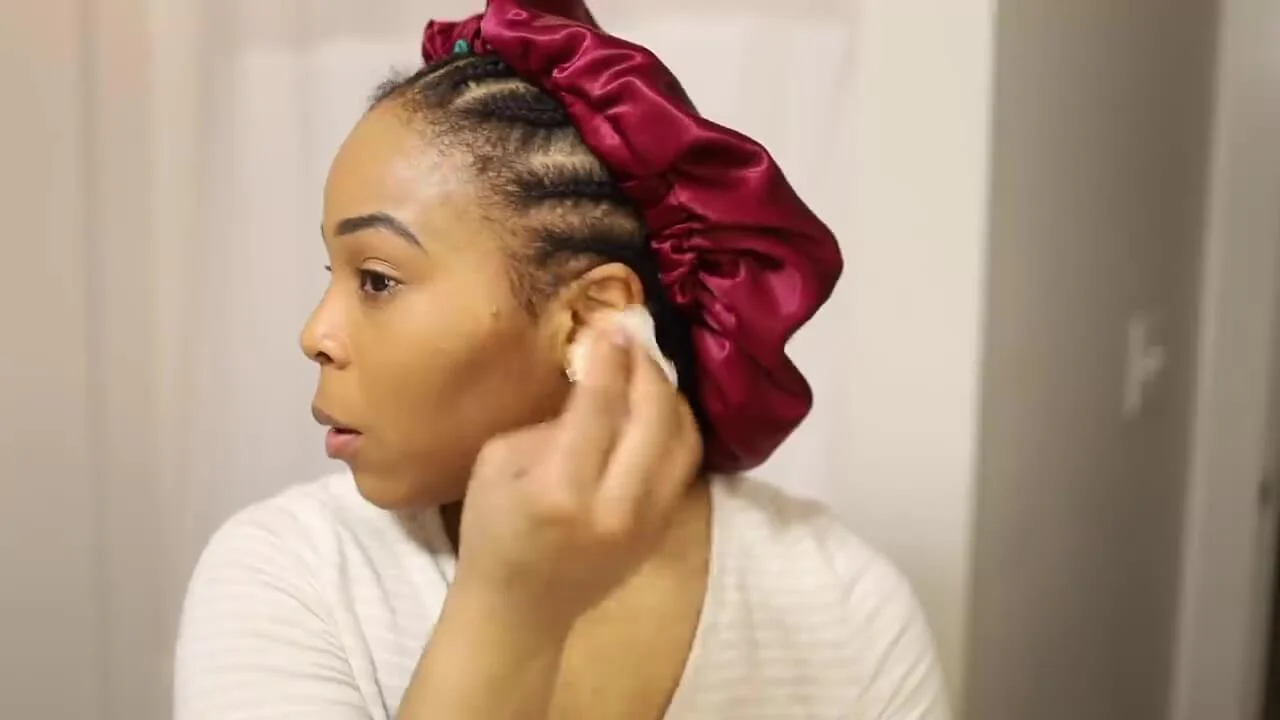
After removing the wig and cap, you may notice some glue residue on your skin or hair. Here’s how to clean it off:
- Use soap and water to gently rub the residue on your skin with your hands.
- Wipe off the residue using a damp washcloth.
- For any glue on your hairline, apply petroleum jelly or rubbing alcohol with a Q-tip and rub it in.
- Wash your hairline with shampoo. If it feels dry, follow up with a conditioner or deep conditioner.
Step Seven: Remove the Glue From Your Lace Front Wig
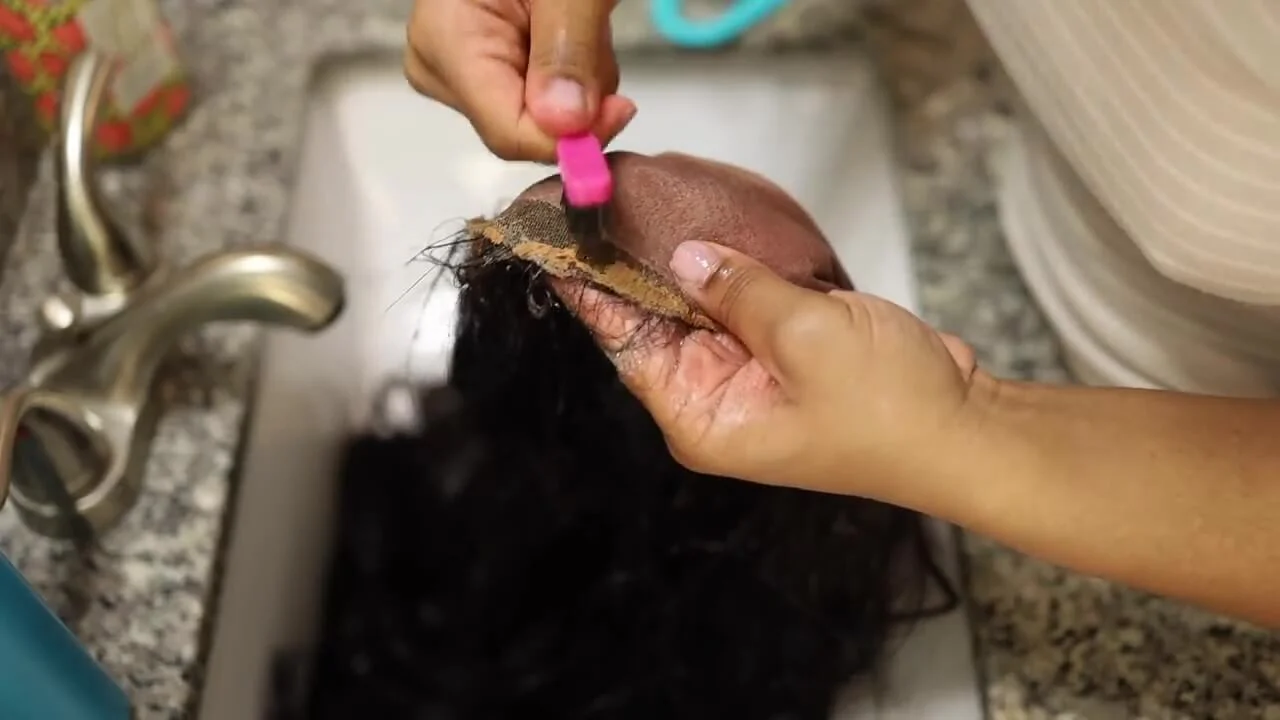
Now it’s time to remove any glue from your lace front wig:
- Gently wipe off excess glue from the lace with a damp washcloth or pick it off with your fingers. Be cautious not to tear the lace.
- Dab a cotton ball in rubbing alcohol and lightly press it on the lace where the glue is. You can also use a wig adhesive remover solution.
- Wait a minute or two, then use a toothbrush and your fingers to peel away the remaining glue.
Step Eight: Wash the Wig
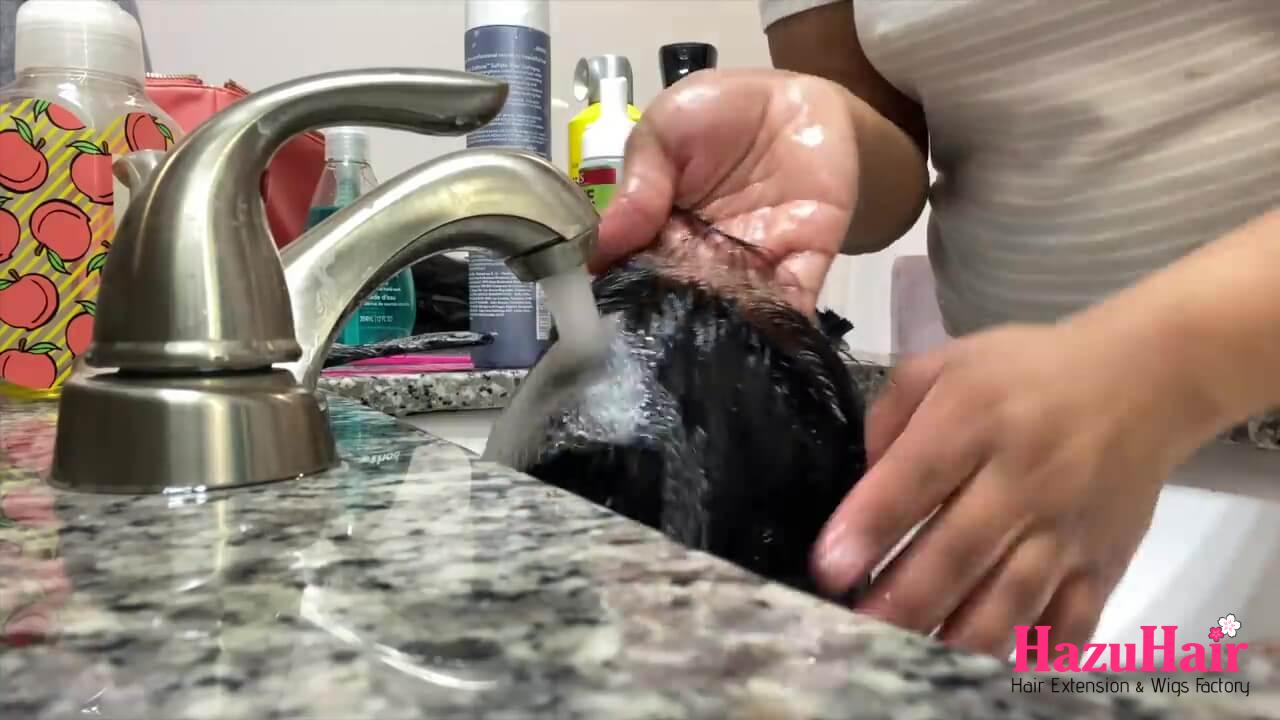
To keep your wig ready for future use, follow these steps to wash it:
- Detangle the wig using a wig brush.
- Prepare a “wig bath” by filling a sink with lukewarm water and adding about a tablespoon of wig shampoo.
- Submerge the wig in the soapy water, swirl it around, and let it soak for five minutes. Then rinse with cold water.
- Drain the water and rinse the sink.
- Use a soft-bristle toothbrush to gently scrub away any debris on the wig cap or lace. Rinse again.
- Refill the sink with lukewarm water, add conditioner, and swirl the wig in the mixture.
- Let the wig soak for a couple of minutes before applying a sealing oil, such as jojoba or argan oil, to lock in moisture.
- Pat the wig dry with a towel and let it air dry.
For more details, see our full guide: How to Wash a Wig – The Only Guide You’ll Ever Need.
Step Nine: Store Your Lace Front Wig
Proper wig storage is key to maintaining its quality. You have a few options:
- Wig Head: Place the wig on a mannequin head in a well-ventilated area. The wig doesn’t have to be completely dry for this method.
- Storage Box: Ensure the wig is dry and tangle-free, then lay it in a storage box or shoebox.
- Storage Bag: If your wig tends to get dry, a silk or satin bag is ideal. The bag will help retain moisture and protect the wig. Make sure the wig is dry and detangled before placing it in the bag.
And that’s it! We hope this guide helps you safely remove your lace front wig without causing any damage to your natural hair or the wig itself. Ready to upgrade your style with a new unit? Check out our virgin human hair lace front wigs – designed with easy-to-melt lace for a flawless, natural-looking hairline.
and…
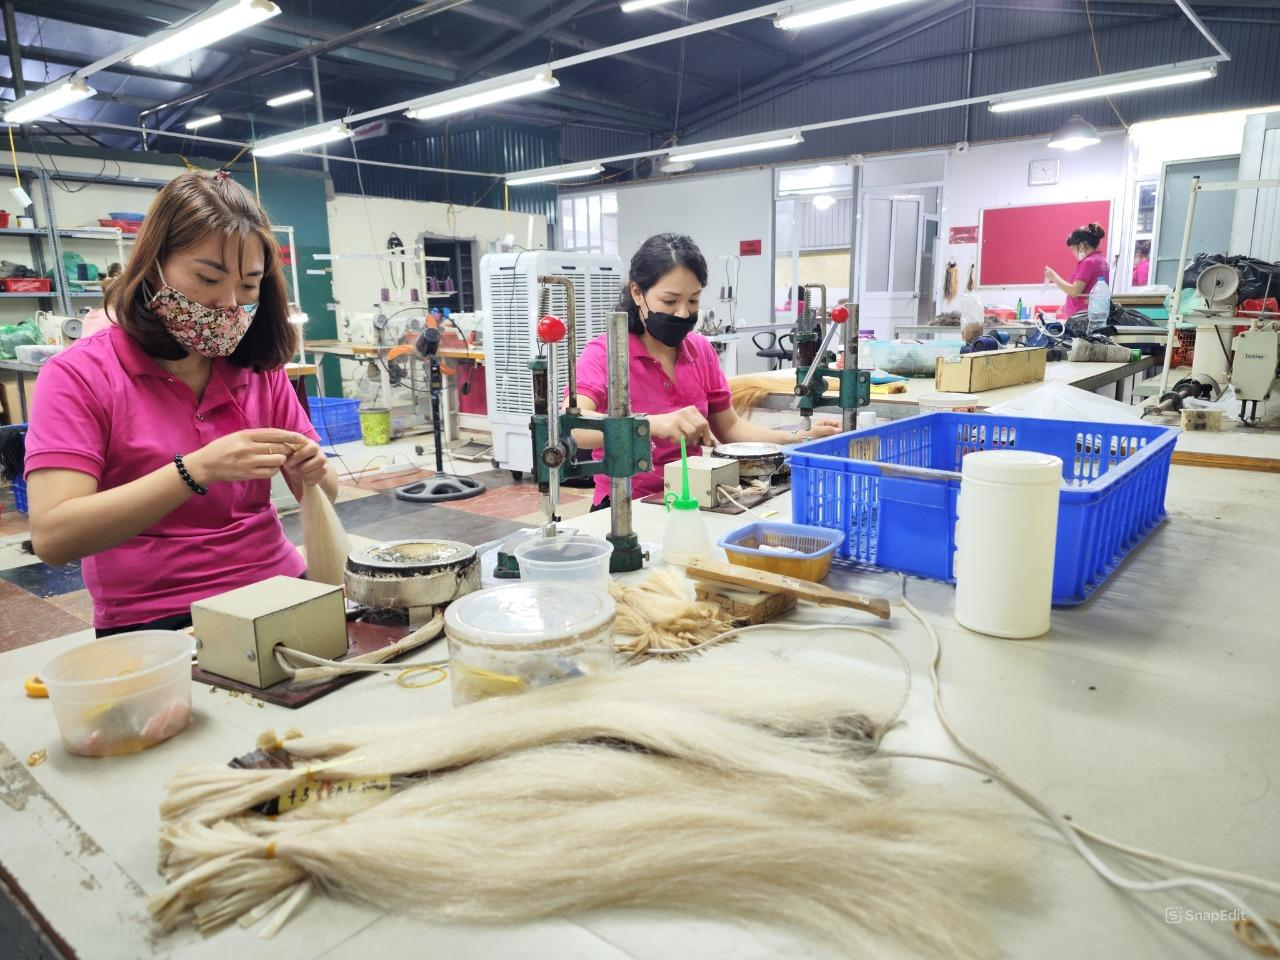
If you’re looking to buy high-quality wigs or hair extensions, look no further than HazuHair.
We are a trusted Vietnamese hair factory with over 100 skilled workers, offering a wide range of hair styles including wavy, curly, straight, kinky, and more.
Our products come in various colors such as natural black, ombre, blonde, red, pink, and many others.
Reach out to us today!
- Hair Factory: Tan Son 2 Village, Tan Dinh, Lang Giang, Bac Giang Province, Vietnam
- Hotline: +849 4949 3883
- Whatsapp Mrs ThanhLam: https://wa.me/84949493883
- Website: https://hazuhair.com
