Hair knowledge
How to Preparing for a Perfect Sew-In Installation
Top Three Things Women Look Forward to After a Long Work Week: Friday, happy hour, and that special day for a sew-in pampering session.
Maybe even add a touch of Gucci or some Private Label to complete the vibe!
For me, the best part of the week is stepping into the salon—warm welcomes, thoughtful gestures, and finally getting that well-deserved time to unwind and get treated after a busy week.
I love exploring different styles, but the sew-in experience, while sometimes challenging, is always worth it.
Today, let’s dive into everything sew-in: the process, types, installation tips, and choosing the best sew-in extensions.
Have questions? Drop them in the comments below! 📢📢
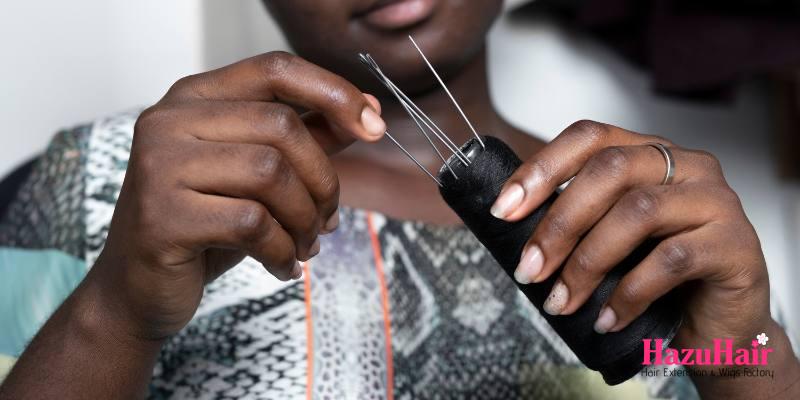
What Is a Sew-In?
A sew-in is a hair extension method where tracks are sewn onto your braided hair, allowing for secure attachment of extensions.
While there are various sew-in styles, they all begin with a base of braided hair. In contrast, quick weaves and tape-ins are other extension methods but are not considered sew-ins.
For a sew-in, the process starts with cornrow braids, into which human hair bundles are sewn. A needle and thread are used to secure the wefts of extensions to the braids, ensuring the style stays in place.
Depending on the look you’re going for, you might use a different braid pattern as the foundation for your sew-in.
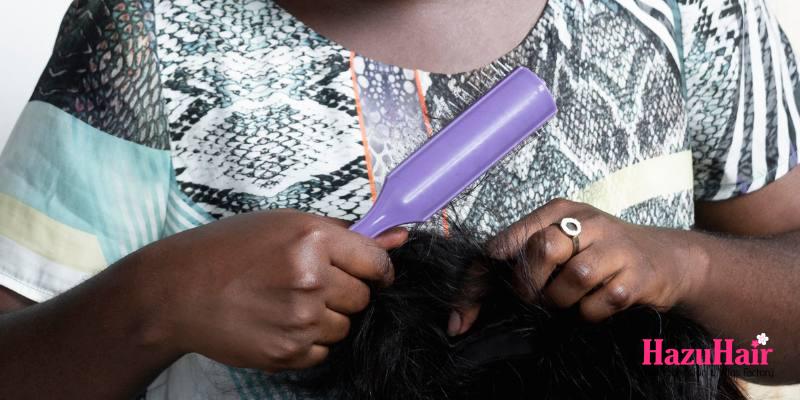
Preparing Your Hair for a Sew-In Installation
I usually let my hair rest for 3 to 5 days before a new sew-in. Taking a break from extensions, also known as a “weave break,” allows your hair to be free and worn in its natural state. While extensions are fantastic, it’s essential to nurture your natural hair between installs with conditioning, hydration, and regular treatment.
For those on a budget, I recommend Cantu products, which offer a wide range of affordable hair care options. My favorite is the Shea Butter Leave-In Conditioning Treatment and repair cream. After washing your hair, wrap it in a towel turban-style until it’s damp.
Once your hair is damp, section it into four parts. Begin by creating a middle part from your forehead to the nape of your neck, then make a horizontal part from ear to ear.
Apply the leave-in conditioner generously to each section, focusing on hydration. You can choose to cover your head with a plastic cap or leave it uncovered. The Cantu leave-in conditioner will help nourish, moisturize, and detangle your hair, preparing it for the sew-in.
Finally, style your natural hair as you prefer before the sew-in appointment. This preparation will leave your hair healthy and ready for your new look.
Getting Ready for Your Sew-In
The day is almost here! You’ve waited nearly a week, and your appointment is tomorrow. It’s time to get ready for that flawless look. Here’s what you need to keep in mind for the best results:
First, consider your scalp condition. Are you tender-headed? Do you have a sensitive scalp or need a trim for your ends? All of these factors play an essential role in how comfortable your styling experience will be.
There’s nothing like a stunning sew-in, but the health of your natural hair is just as important. If you’re tender-headed, consider taking a mild pain reliever before your braiding session to help minimize discomfort. For those with extra-sensitive scalps, let your stylist know so they can be gentle during the process.
A deep conditioning treatment is also a great idea. It will nourish your hair and lock in moisture, especially if you let it sit under the dryer for a bit.
Once your hair is washed and conditioned, you can relax—you’re ready to get that perfect sew-in!
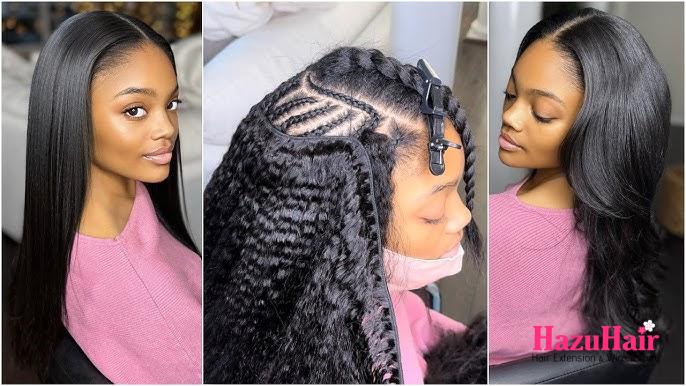
Getting Ready for Your Sew-In Installation
Yes, it’s finally time to get that flawless style! Before you begin, make sure to tell your stylist exactly how you want your hair done. Be as specific as possible—better yet, show a picture to ensure they understand your vision.
Now, get ready for the process! Depending on the style, the installation may take between 2 to 5 hours, so patience is key.
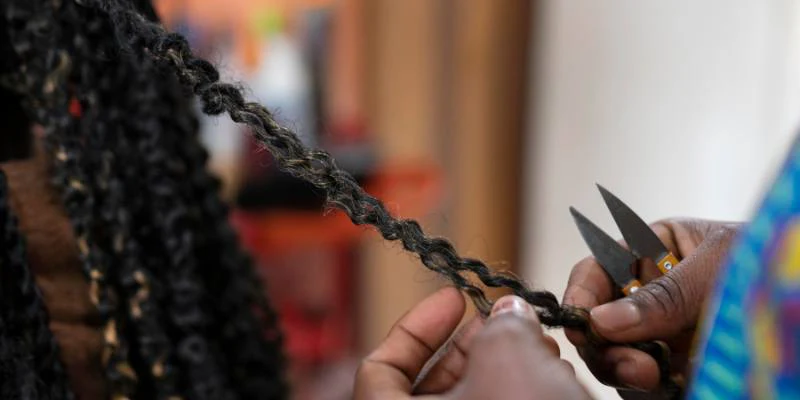
The Braid Foundation for a Sew-In
First up is the braid down. Be prepared – this part can be a little uncomfortable. A popular choice for sew-ins is the “Beehive” braid, which provides a secure, stable foundation that protects and supports your natural hair under the sew-in.
Ever heard of a hair net for sew-ins? This isn’t the kind chefs wear! A hair net is a thin, breathable mesh placed over the braids before installing the extensions. It creates a barrier that can reduce itching and help keep your braids secure. Some nets even come with soothing oils infused to add extra comfort.
Talk to your stylist to see if a hair net might be a good option for you.
Now that your braids are in place, it’s time for the main event: installing the extensions! Your stylist will be threading the needles and getting everything set for the sew-in.
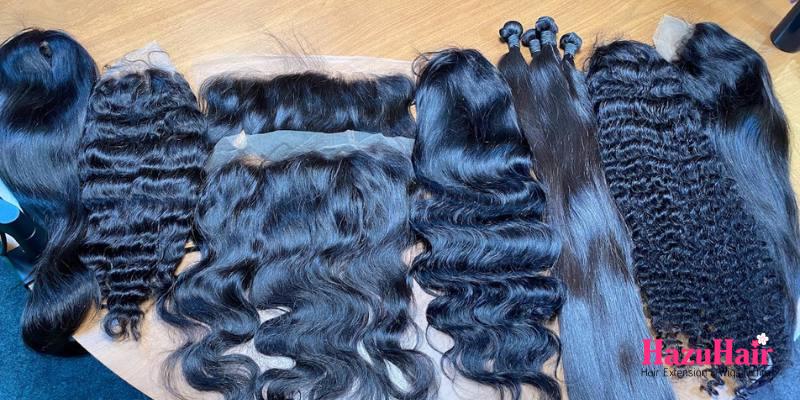
Quick Tip: Looking for high-quality human hair bundles? Check out HazuHair’s selection of virgin and raw hair in textures like body wave, deep wave, loose wave, and kinky curly.
This part may feel a bit uncomfortable, but remember – it’s almost over! Once all your extensions are sewn in, the final step is styling to achieve your perfect look.
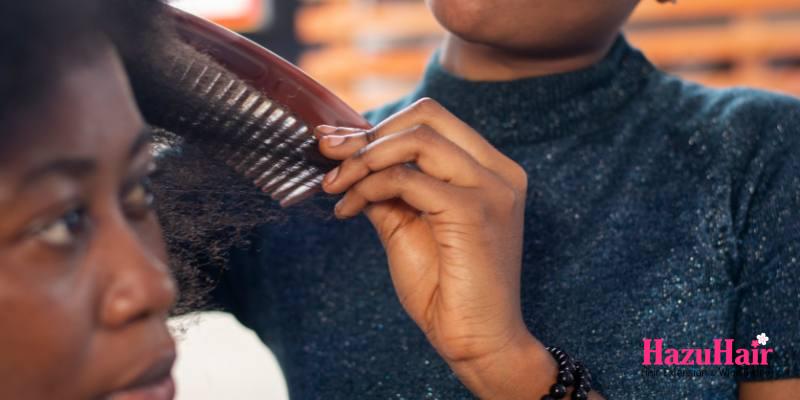
Top 3 Common Mistakes When Getting a Sew-In
We asked professional hairstylists to share the most common mistakes people make with sew-ins. With the variety of sew-in types and techniques, keeping your hair care on point is essential. Here are the top three mistakes stylists see frequently:
1. Skipping Deep Conditioning
Many people overlook deep conditioning before a sew-in. This is a crucial step to ensure your natural hair is strong, hydrated, and able to handle the tension of braiding and the weight of extensions.
Solution: Always deep condition before a sew-in. Use a quality, moisturizing deep conditioner and leave it on for at least 20-30 minutes. This will help strengthen your hair, reducing breakage and dryness throughout the duration of your sew-in.
2. Choosing the Wrong Braiding Pattern
The braiding pattern is the backbone of a good sew-in. One common mistake is braiding too tightly, too loosely, or in a pattern that doesn’t match the desired style. Incorrect braiding can create tension on the scalp, leading to pain and even hair loss.
Solution: Select a braiding pattern that suits the style of sew-in you want. Braids should be neat and secure but not overly tight, as this can damage your scalp and hairline. If unsure, consult with a professional stylist to ensure the correct pattern for your look.
3. Neglecting Scalp Care
Skipping scalp care before a sew-in can lead to itching, flaking, and discomfort. Many people forget to properly cleanse and moisturize their scalp, which is essential for a healthy foundation under the sew-in.
Solution: Cleanse your scalp with a gentle shampoo to remove any build-up, and follow with a light, non-greasy moisturizer to keep it hydrated. During the sew-in, continue to care for your scalp with nourishing, non-irritating products to prevent dryness and irritation.
Avoiding these common mistakes helps prepare your hair for a successful sew-in, ensuring a long-lasting style while maintaining the health of your natural hair.
By now, you’ve likely already shared your desired hairstyle with your stylist, so you’re all set!
With your weave cut, styled, and perfectly in place, you should be feeling like the most beautiful woman in the world.
and…
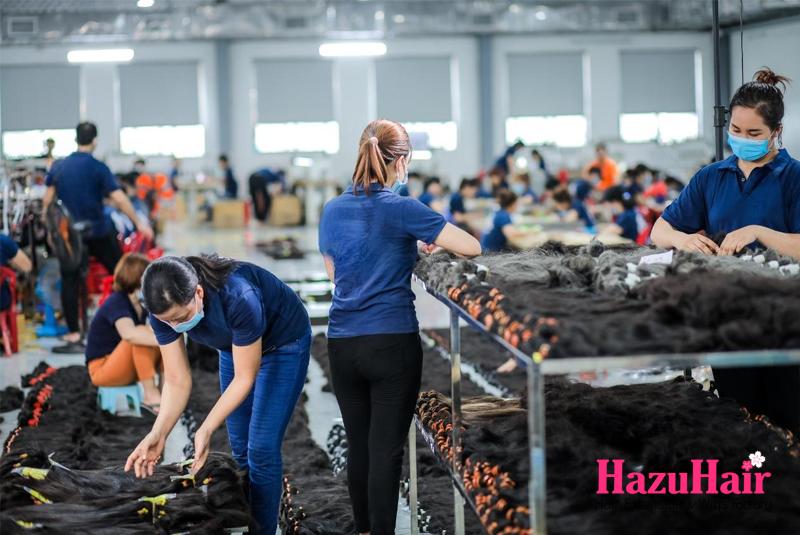
If you’re looking to buy high-quality wigs or hair extensions, look no further than HazuHair.
We are a trusted Vietnamese hair factory with over 100 skilled workers, offering a wide range of hair styles including wavy, curly, straight, kinky, and more.
Our products come in various colors such as natural black, ombre, blonde, red, pink, and many others.
Reach out to us today!
- Hair Factory: Tan Son 2 Village, Tan Dinh, Lang Giang, Bac Giang Province, Vietnam
- Hotline: +849 4949 3883
- Whatsapp Mrs ThanhLam: https://wa.me/84949493883
- Website: https://hazuhair.com
