Hair knowledge
Quick Weave Hairstyles: Techniques to Switch Up Your Hairstyle
A perfectly installed sew-in can turn heads as you walk into a room, making you the envy of everyone who wishes their sew-in looked as flawless as yours. Many women are willing to spend hours in the chair to achieve their favorite style, but what if you don’t have that much time? For those who need a fresh look but can’t dedicate three or more hours to a sew-in, a quick weave is the perfect solution.
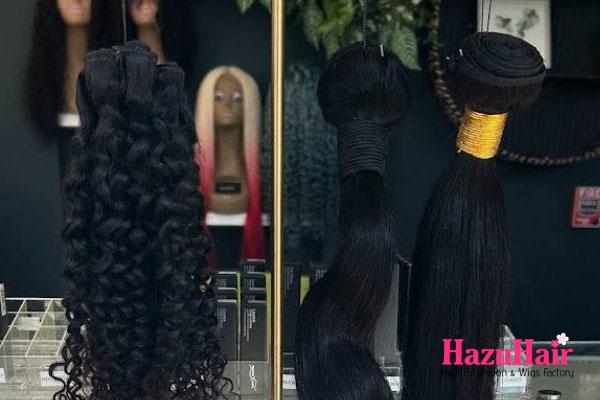
Quick weaves offer a fantastic way to get the hairstyle you want without wasting hours in the salon chair. In this article, you’ll find all the information you need to learn about quick weaves, including the benefits of long or short quick weaves and the various styles you can choose from. So, get your virgin hair bundles ready because we’re about to dive in!
What is a Quick Weave?
A quick weave is a method of bonding hair extensions to your natural hair or a protective cap. One common technique involves applying a liquid gel product to your hair, which hardens and creates a protective barrier between your hair and the glue used for the extensions.
Another popular method is bonding the extensions to a thick weave cap, which I prefer because it allows for easy removal, offering the flexibility to change styles.
Quick weaves are especially convenient for those of us who enjoy switching up our hairstyles based on our moods (I know I’m not the only one who does this!). This technique works well for long hairstyles, bobs, and short weaves. It’s also faster and more budget-friendly compared to traditional sew-ins since it can be done at home.
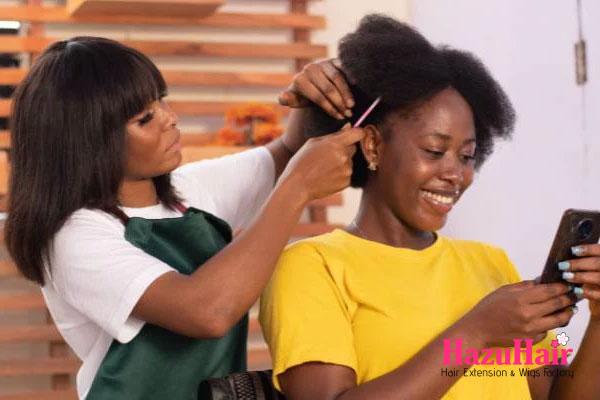
You don’t need a professional license or specialized training to apply a quick weave, but a licensed hairstylist can help ensure the best results and proper hair care.
If you’re unsure about maintaining your hair, consider having a professional install your quick weave to avoid mistakes. Take your time during the application to prevent glue from touching your hair, which can lead to breakage.
The Pros and Cons of Quick Weaves
Quick weaves are an excellent choice for individuals with busy lifestyles who want the look of a traditional sew-in without the long installation time. While sew-ins can offer a more natural appearance, a well-applied quick weave can look just as flawless when done carefully. Here are some pros and cons to consider when deciding if a quick weave is the right option for you.
Pros of Quick Weaves
- Affordability: One of the most appealing aspects of quick weaves is their affordability. Compared to traditional sew-ins, quick weaves are a more budget-friendly option, allowing you to achieve a stylish, glamorous look without spending a lot of money at the salon. The cost of installation is typically lower, and you can still enjoy a high-quality hairstyle.
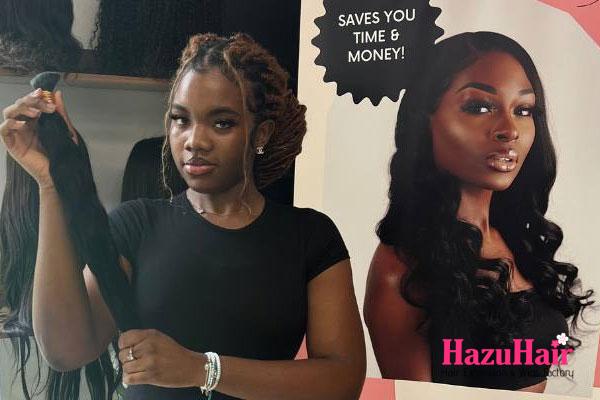
- Faster Installation: Quick weaves are much faster to install than sew-ins, making them an ideal choice for individuals with busy schedules or anyone who doesn’t want to spend hours sitting in a salon chair. While sew-ins can take several hours to complete, a quick weave can be finished in a fraction of that time, which is a huge advantage for people on the go.
- Longevity: With proper care, a quick weave can last anywhere from three to four weeks, giving you excellent value for your investment. Regular maintenance, such as keeping the weave clean and free from product buildup, can extend its lifespan. This allows you to enjoy a long-lasting, beautiful style without needing to constantly reapply or replace your extensions.
- Versatility and Protection: Quick weaves are an excellent choice for protective styles. By bonding the extensions to your natural hair or a protective cap, you shield your natural hair from environmental damage, heat styling, and everyday wear and tear. This makes it a great option for individuals who want to give their natural hair a break while still maintaining a stylish appearance.

Cons of Quick Weaves
- Potential Hair Damage: A significant downside of quick weaves is the risk of hair damage if not applied correctly. If you don’t use a protective sealant over your scalp, the glue used to attach the extensions can cause your natural hair to become weakened or even pulled out. To avoid this, it’s crucial to apply a protective barrier or cap to your natural hair before installation to minimize any potential damage.
- Extension Damage: The adhesive used in quick weaves can also cause damage to the hair extensions themselves. Over time, the glue may cause the extensions to lose their shine, become brittle, or even break apart. This can reduce the lifespan of the extensions and require more frequent replacements, which can become costly in the long run.
- Time for Drying: While the installation of a quick weave is faster than that of a sew-in, it still requires some time for each track of hair to dry before applying the next one. This process can make the installation take longer than expected, as you’ll need to wait for the glue to set properly. Although it’s still quicker than a traditional sew-in, the need for drying time can still require a fair amount of patience.
- Increased Shedding: Cutting the wefts during the installation process is common with quick weaves, but this can result in more shedding compared to a traditional sew-in. As the cut ends of the extensions are exposed, they can become more prone to shedding and fraying. If you’re looking for a style that sheds minimally, a sew-in might be a better choice, as the wefts are typically left intact and sewn into place.

Preparing Your Hair for a Quick Weave
Before you install your quick weave, one of the most important steps is making sure your hair is clean and well-prepared. Proper preparation can help your weave last longer, protect your natural hair, and ensure a smoother installation process.
1. Cleanse Your Hair
Whether your hair is relaxed or natural, it’s essential to start with clean hair. I recommend shampooing with a gentle cleanser like Organix shampoo and conditioner (or whichever brand works best for you). These products help remove any dirt, oils, and product buildup from your hair.
After shampooing, rinse thoroughly and then dry your hair. You can either blow-dry or let your hair air-dry, but it’s important that your hair is completely dry before proceeding to avoid any moisture being trapped during the weave process.
2. Dry Thoroughly
Make sure your hair is fully dried before beginning the weave installation. Any moisture left in the hair could promote bacterial growth, which can cause scalp issues over time. It’s crucial to ensure that your hair is properly dry to avoid any unwanted problems later on.
3. Moisturize Your Hair
Keeping your natural hair moisturized is key to maintaining healthy hair under your weave. I personally love to use Jamaican Black Castor Oil, which is incredibly nourishing for the hair. Pour a quarter-sized amount of castor oil into the palm of your hand and rub your hands together to warm it up. Then, apply it to your hair, focusing on the ends and working your way up.
Since I have a TWA (teeny weeny afro), I don’t need to use much oil, but depending on your hair’s length and texture, you might need more. Be sure to apply enough oil to evenly coat all your hair strands. Castor oil is thick, so I suggest repeating the process if necessary to ensure complete coverage.
4. Avoid Greasiness
When applying the castor oil, it’s important that your hair doesn’t look greasy. The goal is to hydrate and protect your hair, not to overload it with oil. If your hair looks shiny but not greasy, you’ve used the right amount.
5. Use Leave-In Conditioner
After applying the castor oil, the next step is to add moisture and protection with a leave-in conditioner. A quarter-sized amount of leave-in conditioner is usually enough. This will lock in moisture, keep your hair hydrated, and create a protective layer around your natural hair while it’s braided up and covered by the weave. This ensures that your hair stays nourished while it’s underneath the extensions.
Cutting the Wefts for Your Quick Weave
Cutting the wefts properly is a crucial step in the process of installing a quick weave. This ensures the wefts are the right size for your head, providing a natural-looking result that blends seamlessly with your hair. Here’s how to do it step by step:
1. Measure Your Head First
Before you cut the wefts, take a moment to measure the back of your head from ear to ear. This is important because it allows you to determine the proper length for your wefts. When the wefts are cut to the right size, they will fit perfectly along the contours of your head, making it easier to glue them onto your weave cap without any gaps or awkwardness.
2. Cut the Wefts Carefully
Once you’ve measured your head, carefully cut the wefts to the appropriate length. It’s important to use sharp scissors for a clean cut to avoid fraying or uneven edges. Cutting the wefts properly helps your quick weave look more natural and gives a smooth finish when glued.
3. Remove Loose Strands
After cutting the wefts, gently run your hands through the extensions to remove any loose hair strands that might have been cut during the process. This helps prevent shedding and gives a neater appearance to the wefts. It’s always good to take this extra step to make sure your hair doesn’t get tangled or messy when it’s installed.
Quick Tip: Use Affordable Hair Bundles
When you’re cutting the wefts for a quick weave, it’s a good idea to opt for more affordable hair bundles rather than raw hair bundles. Since a quick weave is typically a temporary style that lasts a few weeks rather than a month, using cheaper hair can save you money without compromising the final look.
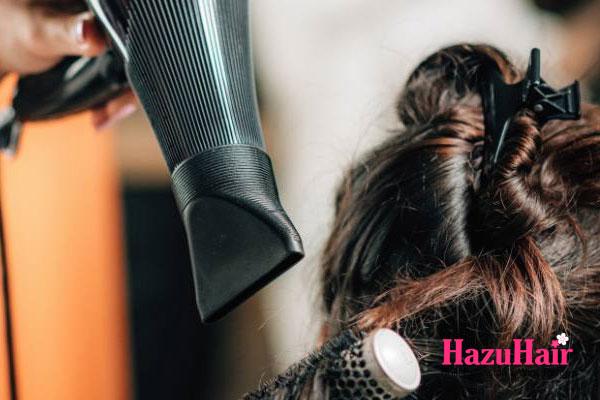
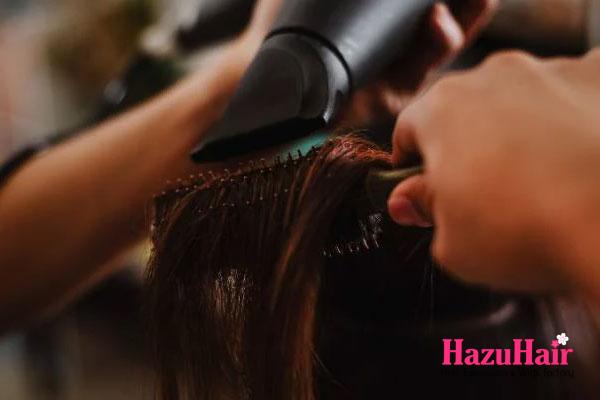
4. Dry the Wefts
Once your tracks are cut, you’ll need to dry them before applying them to your head. Some people prefer to let the glue dry naturally by applying glue to each track and allowing it to air dry. This method is more time-consuming but can prevent any heat damage. Alternatively, if you’re in a rush, you can use a blow dryer on low heat to speed up the drying process. Just be careful not to overheat the glue, as it can cause it to lose its effectiveness or damage the hair.
How to Do a Liquid Cap Quick Weave with Leave-Out
Creating a liquid cap quick weave with leave-out requires careful preparation and attention to detail to ensure a seamless, natural-looking style. Here’s a step-by-step guide to help you achieve the perfect quick weave with leave-out:
- Part Your Hair for Leave-Out: Start by parting your hair where you want your leave-out section to be. This is the area of your natural hair that will remain exposed and blend with the extensions. Make sure the part is neat and well-defined.
- Braid the Leave-Out Section: To keep your leave-out section out of the way, braid it down. This prevents it from getting caught in the weave process and ensures it remains intact and undisturbed.
- Apply Molding Gel to the Rest of Your Hair: On damp hair, apply a generous amount of Salon Pro 30-Second Weave Molding Gel to the remaining hair (the section that will be covered by the weave). Be careful not to apply any gel to the braided or leave-out areas. Comb through your hair thoroughly to ensure the product is evenly distributed and that the hair is smoothed down.
- Dry Your Hair: To set the gel, dry your hair with a blow dryer. Alternatively, you can use wrap strips to smooth the hair as it dries and sit under a hooded dryer until it’s completely dry. The goal is to create a smooth, solid base for the weave.
- Apply the Liquid Barrier: Next, squeeze a small amount of Weave Wonder Wrap onto an application brush. Carefully apply the liquid barrier all over the hair, avoiding the braided leave-out section. This step will protect your hair and create a strong base for the weave cap.
- Dry the Wonder Wrap: You can use the blow dryer or sit under the hooded dryer until the Weave Wonder Wrap is completely dry and firm. The wrap should harden to provide a solid foundation for the weave.
- Secure the Weave Cap: Once the wonder wrap is dry, pull the thicker edge of the cap over your hairline, ensuring it fits snugly. The cap should cover the entire head, leaving the leave-out section exposed.
- Outline the Leave-Out Area: Using a white pencil or eyeliner, outline your leave-out area on the cap. This will serve as a guide to ensure that you don’t accidentally glue any wefts in the leave-out section. The outline will help keep the natural hair area clear and protected.

Glue the Extensions
Now comes the fun and creative part—gluing your extensions onto your cap! Follow these steps carefully to achieve a flawless quick weave look, while keeping your natural hair protected from the glue.
- Protect Your Hair: Before you start applying the glue, keep in mind that the molding gel you applied earlier is protecting your natural hair from any damage. This ensures that the glue will not directly affect your scalp or natural hair.
- Use the Right Glue: It’s important to note that the glue used for quick weaves is different from lace glue. Be sure to use a dedicated quick weave adhesive to ensure the best results and minimize any potential issues.
- Measure and Apply Glue to the Weft: Start by measuring the length of your extensions to match the area you’re gluing. Then, apply a thin layer of glue to the weft of the extension. Don’t overdo it with the glue! A little goes a long way, and personally, I find it much easier to avoid excess glue on my fingers, so I always ask for help during this step.
- Secure the First Extension at the Nape: Pull the stocking cap down to expose the nape area and get ready to secure your first extension. Position the extension at the base of your neck, stretching it across from one edge to the other. Use your finger to smooth the weft down and ensure it’s properly glued to the cap. Remember, the band of the cap should extend beyond the extensions, as you’ll cut off the extra band later.
- Blow Dry to Set the Weft: Once you have applied the extension, grab a blow dryer and gently run it across the weft to help it dry and set onto the cap. This step is crucial to make sure the glue adheres properly and the extension stays in place.
- Use a Finger Guide for Weft Spacing: You might be wondering how far apart each extension should be placed. Here’s a trick: use the length of your index fingernail bed as a guide! This works surprisingly well for measuring even spacing between extensions, and it’s an easy method that guarantees a more uniform look.
- Measure and Apply the Next Extension: Now that your first extension is secure, measure the distance for your next one. Keep the spacing consistent by measuring one index fingernail length above the first extension. Apply glue to the weft and repeat the process, working from edge to edge along the nape area.
- Continue Until Done: Repeat the process for each additional extension, making sure to keep the spacing even and the glue application light. As you continue, your quick weave will start to take shape, and you’ll see your desired style come together!
Measuring the Hair Extensions
As you work your way towards the crown of your head, it’s important to adjust how you measure your extensions. Instead of starting at the edge of the stocking cap, begin at the edge of your hairline.
- Protect Your Edges: You want to ensure that your edges remain flawless, so avoid placing the weft of the extension all the way to the very edge of your hairline. Instead, position the extension slightly behind it. This will allow your edges to shine through, even after your quick weave is complete, giving your style a natural and polished look.
- Reaching the Top of Your Head: Once you reach the top of your head, it’s time to switch up your technique a bit. Start gluing your extensions from front to back, instead of following the index finger method you’ve used before. This ensures that your extensions blend seamlessly without leaving noticeable gaps between wefts.
- Place Wefts Along the White Line: At the top of your head, focus on gluing your tracks along the white guideline on your cap. This will help you keep the extensions in place and aligned, giving you a more uniform look. Be sure to let each weft dry completely before moving on to the next one.
- Cutting Off the Excess Cap: Once you’re nearing the crown and all the extensions are securely in place, you can cut off the excess part of your stocking cap that’s visible around the edges of your head and leave-out area. This will give your quick weave a neat and finished appearance.
- Quick Note: A popular trend when doing quick weaves is using a 2×6 lace closure. This closure gives you a natural and flawless finish, making it easier to blend your leave-out with your extensions.
- Blending Your Leave-Out: To blend your leave-out with your extensions, start by using a flat iron to smooth your natural hair. Work in small sections to ensure a sleek and polished look. Afterward, apply a small amount of oil to your part to add moisture and shine. The oil will soften any eco-style gel or edge control you may have applied, allowing your leave-out to lay flat and look smooth.
- Final Touches: Style your extensions as desired – whether you’re opting for curls, straight strands, or any other style – and your quick weave will be ready to show off! Your hair will look seamless, natural, and fabulous.
Liquid Cap Quick Weave Without Leave-Out and Invisible Part
- Prepare Your Hair: Start with damp hair and apply Salon Pro 30-Second Weave Molding Gel to all of your hair. This gel will help smooth and hold your hair in place as you work through the weaving process.
- Smooth and Distribute the Product: Use a comb to evenly distribute the product through your hair, ensuring that it’s smooth and tangle-free. Comb through each section carefully, making sure that the gel is spread out evenly from root to tip.
- Create Your Invisible Part: To ensure that your part looks clean and defined, begin molding the hair where you plan to create your invisible part. Carefully part the hair and mold it down to hold that shape. Once your part is set, use a blow dryer to dry the product, or you can wrap your hair using wrap strips and sit under a hooded dryer for an even finish.
- Apply the Wonder Wrap: Next, take a small amount of Weave Wonder Wrap on an application brush. Apply the liquid barrier evenly across the entire section of hair, just as you did with the molding gel. This will provide a protective layer to ensure the glue doesn’t come into contact with your natural hair.
- Dry the Wonder Wrap: Once applied, use a blow dryer on low heat or sit under a hooded dryer until the Wonder Wrap is completely dry. This step ensures the liquid barrier is set and ready for the next phase of your quick weave installation.
Set Your Hairline
- Prepare Your Stocking Cap: After drying your hair, it’s time to apply your stocking cap. Start by pulling the thicker edge of the cap past your hairline. This will ensure the cap fits snugly and securely against your skin.
- Mark Your Part: Use a white pencil or a similar marker to carefully trace the part on your stocking cap where your natural part is in your hair. This will guide you in ensuring your weave looks natural and the part remains clean.
- Secure the Cap with Gorilla Snot: To keep your stocking cap in place, apply a thin layer of Gorilla Snot gel along your hairline. Start on one side of your hairline, from the top of your ear to just past the edge of the cap. Press the stocking cap firmly into place, ensuring it aligns with your natural part. Use a blow dryer to dry the gel and set the cap securely.
- Repeat on the Other Side: Apply Gorilla Snot to the opposite side of your hairline, smoothing and securing the cap down as you did with the first side. Again, dry the gel with the blow dryer until the cap feels secure. It’s important not to cut off the front band of the stocking cap just yet. I recommend waiting until the cap is completely dry before cutting it off to avoid disrupting the set.
- Prepare the Extensions: Next, measure your extensions to ensure they fit properly. Apply hair glue to the weft of the extensions. If possible, have someone assist with this step to make it easier.
- Attach the First Extension: Start at the nape of your neck, applying the first extension from edge to edge, ensuring it fits seamlessly. Smooth down the weft with your finger to press it into place.
- Ensure the Cap is Properly Positioned: Remember, the thick band of the stocking cap should extend past the extensions, as you’ll be cutting this excess off later. This helps prevent any visible lines or unevenness.
- Dry the Extension: Once the first extension is in place, grab your blow dryer and use it on the weft to make sure the glue sets and dries completely to your cap. This will help the extensions stay securely attached as you continue the process.
Applying the Tracks
- Measure and Position Extensions: As you work towards the crown of your head, measure your extensions starting from the edge of your hairline, not the stocking cap. This is important because the excess cap will be trimmed off later.
- Align with the White Line: When you reach the top of your head, begin gluing the tracks along the white line you previously marked on your stocking cap. This ensures the tracks are evenly aligned and follow the natural flow of your part.
- Trim the Stocking Cap: Hold off on trimming your stocking cap until you’re ready to insert the invisible part wefts. Once at this stage, carefully cut away the visible, excess portions of the stocking cap around your head and along your part.
- Prepare for the Invisible Part: At this point, cut tiny wefts (about the size of a tic-tac) to start creating your invisible part. Start at the edge of your hairline and secure the remaining part of the stocking cap along the part by gluing it down. This step anchors the cap and ensures your part looks natural and isn’t too wide.
- Layer and Stack Wefts: As you move up along the part, gradually increase the size of each small weft. Each new weft should slightly overlap the one below it, creating a seamless and stacked effect that mimics natural hair growth.
- Apply Lace Closure (Optional): When you’ve reached the midway point of your part, it’s a good time to attach your lace closure. This ensures it is properly aligned and blends seamlessly with the rest of your style. Once the closure is in place, continue adding the small wefts to finish creating your invisible part.

Quick Weave with a Braided Foundation
Create the Braided Base
Start by forming your foundation braids. A specific braid pattern isn’t required, but cornrowing your hair straight back works well.
- Divide your hair into three sections, sliding your hands down about 1/4 to 1/2 inch before beginning each braid.
- To enhance durability, consider adding human hair extensions to each braid. This also helps reduce scalp tension.
- Continue braiding until all your hair is in neat, small braids. Small, uniform braids create a smooth foundation, ensuring your quick weave lies flat.
Prepare the Stocking Cap
After finishing the braids, put on a stocking cap to protect your natural hair.
Apply Extensions at the Nape
Start applying your extensions at the nape of your neck, just as you would for a quick weave with leave-out. Smooth each weft into place for a secure and natural finish.
Midsection and Crown Application
As you work towards the midsection and crown of your head, glue the extensions in a circular pattern. This method allows for full coverage, leaving only a small opening at the crown, which will later be covered with a DIY closure.
Create a DIY Closure
To make your closure:
- Cut a weft about 1 inch long and apply hair glue to the track. Let it sit for 5–10 seconds to become tacky.
- Tightly roll the weft into a small, compact circle. Use a clip or T-pin to hold it in place while it dries for 5 minutes or longer.
- Once the closure is dry, gently fan the hair out around the roll to create a uniform spread.
- Use a heated flat iron (on a low setting) to press the roll between the plates. This step flattens the wefts, ensuring the closure is smooth and natural-looking.
Finish with Care
Take your time during the closure-making process to avoid a messy appearance. This step is simple but requires patience for the best results.

Quick Weave Hairstyles
One of the best things about quick weaves is their versatility. While they are quick to install, they offer endless styling possibilities. Let’s explore some popular quick weave hairstyles you can choose from!
Pixie Cut (Quick Weave with No Part)
We’ve all had those moments where we need to step out quickly but still want to look put-together. Whether it’s a quick store run for some chips, salsa, and drinks or preparing for a casual Netflix night, the pixie cut quick weave is your perfect style companion.
This short and chic hairstyle works with any outfit be it jeans, sweats, or a formal dress. Plus, it doubles as a protective style, making it a versatile go-to for any occasion.
Bob (Quick Weave with an Invisible Part)
If you’re aiming for a look that’s both sassy and classy, a quick weave bob is the way to go! This style is perfect for those who need something professional yet playful, whether you’re in the office or out on the town.
To achieve the perfect bob:
- Once your extensions are installed, pull all your hair into a low ponytail and secure it with a rubber band.
- Use the rubber band as a guide for your desired bob length.
- For a layered look, lift the ponytail slightly as you cut to create gradual layers in the back.
This sleek and adaptable style is ideal for all-day wear, from board meetings to brunch!
Long Hair (Quick Weave for Extended Lengths)
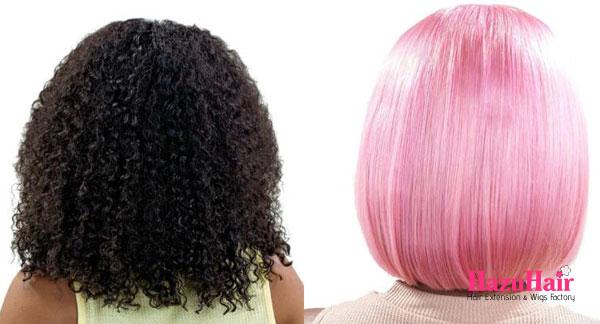
Let’s be real we all love rocking those luxurious inches now and then, don’t we? Long hair is not only stunning but also gives you endless possibilities to experiment with textures and colors.
A quick weave is a fantastic way to achieve long, flowing locks or even to transition between styles. Whether you’re aiming for a sleek, straight look or voluminous waves, you can create a gorgeous long hairstyle in minimal time while also protecting your natural hair.
Bangs (Quick Weave Bang Extensions)
If you’re into hairstyles with bangs, quick weaves make it incredibly easy to achieve this look. Want to spice it up? Combine bangs with a quick weave ponytail for a chic, playful style!
Bangs are transformative and can elevate your entire look. The best part? You don’t have to commit to a full-head quick weave. Simply braid down your natural hair, use a wig cap, and glue in the bang extensions.
For added versatility, you can create this look using a DIY closure or pair it with a straight weave for a sleek and polished finish. Quick weave hairstyles with bangs are timeless and trendy, perfect for any occasion!
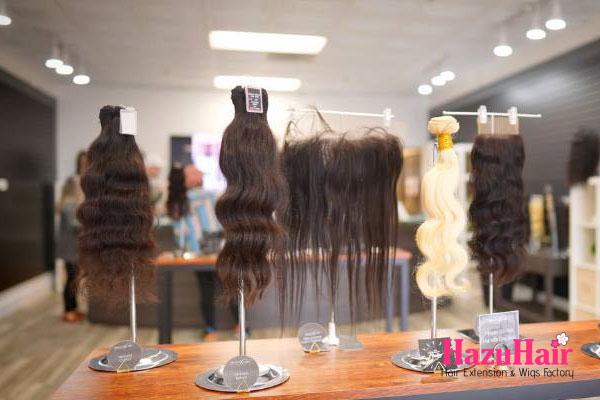
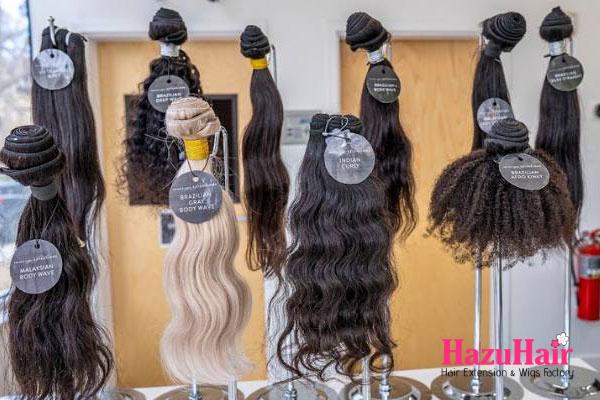
Best Hair Options for a Quick Weave
When choosing hair for a quick weave, it’s essential to keep in mind that this technique involves cutting the wefts of your hair extensions.
- Weft Cutting and Hair Longevity: Cutting the wefts can significantly reduce the lifespan of the hair extensions. Therefore, it’s better to opt for affordable bundles if you plan to wear the quick weave for a shorter duration.
- Recommended Affordable Options: For a balance between quality and affordability, consider using Vietnamese Body Wave or Straight Hair. These options offer great versatility while being budget-friendly.
- Temporary Styles: If your quick weave is only meant to last for the weekend or a short time, Milky Way pack hair is a reliable and cost-effective option.
- Premium Extensions: If you’re leaning towards premium hair, like Indian or Vietnamese hair, it’s worth investing in a longer-lasting installation method, such as a traditional sew-in, to fully enjoy the quality and durability of the hair.
Quick Weave Tips
Quick weaves can easily become your go-to style when installed and maintained properly!
- Choose the Right Glue and Protective Coating: Always select high-quality glue and a reliable protective coating to shield your natural hair from damage.
- Timely Removal: Avoid leaving your quick weave in for too long, as this can lead to breakage and harm your natural hair. Be mindful of your hair’s health and take the weave out when it’s due.
- Affordable and Efficient: Quick weaves are a time-saving and budget-friendly alternative to traditional sew-ins, giving you the same fabulous look without the high costs or long installation process.
- Professional Installation: For the best results, seek out a skilled stylist. However, if you’re confident in your abilities, ensure you have the necessary tools and materials to do it right.
Remember, beauty takes effort, but it doesn’t have to break the bank!
Share Your Quick Weave Experience!
We hope this guide has given you a clear understanding of what a quick weave is and how to achieve the look you want.
At HazuHair, we’re here to help you find the best hair bundles for your next quick weave. Visit our Atlanta hair store or shop conveniently online for all your hair needs!
Do you have tips, tricks, or experiences with quick weaves?
We’d love to hear from you! Share your insights, pros and cons, or anything related to quick weaves in the comments below. Your feedback could inspire and help others on their hair journey!
and…
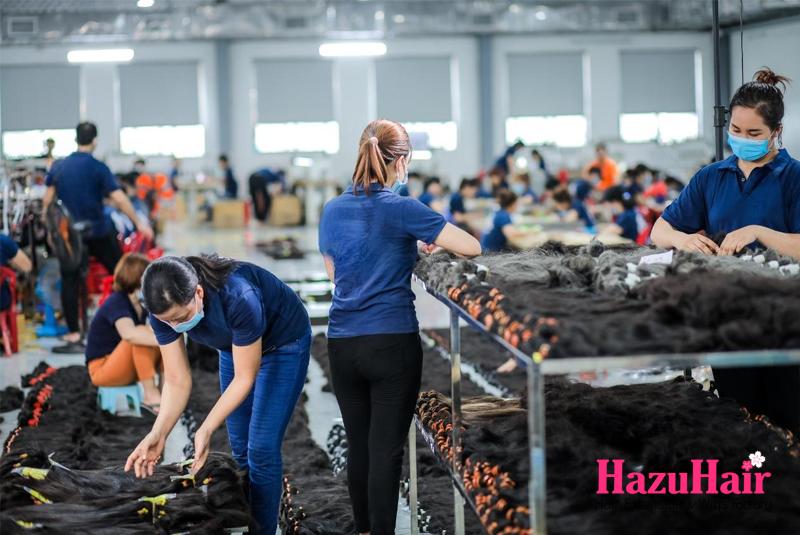
If you’re looking to buy high-quality wigs or hair extensions, look no further than HazuHair.
We are a trusted Vietnamese hair factory with over 100 skilled workers, offering a wide range of hair styles including wavy, curly, straight, kinky, and more.
Our products come in various colors such as natural black, ombre, blonde, red, pink, and many others.
Reach out to us today!
- Hair Factory: Tan Son 2 Village, Tan Dinh, Lang Giang, Bac Giang Province, Vietnam
- Hotline: +849 4949 3883
- Whatsapp Mrs ThanhLam: https://wa.me/84949493883
- Website: https://hazuhair.com