Hair Care Tips
How to Apply Weft Hair Extensions with Beads: Your Complete Guide
Weft hair extensions are an excellent way to enhance the length, volume and thickness of your natural hair without relying on heat or glue. In this blog, we’ll walk you through everything you need to know about applying weft hair extensions with beads – a popular and gentle method that provides long-lasting results when properly cared for.
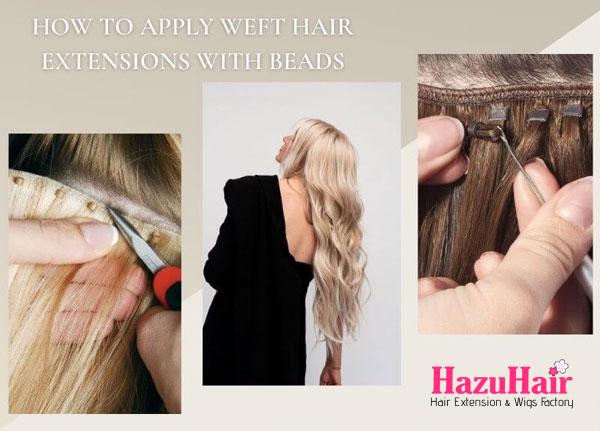
Prepare: What You Need Before Applying Weft Hair Extensions with Beads
Before you begin the application process, it’s important to have everything prepared and the right tools on hand. This ensures a smooth and efficient application, leading to a flawless final result. Here’s what you need to get started.
Tools You’ll Need to Apply Weft Hair Extensions with Beads
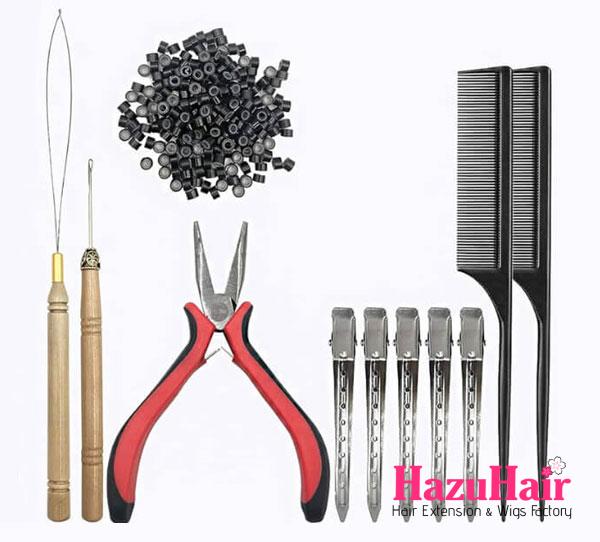
- Microbeads (or Micro Rings): These small, silicone-lined rings are used to secure both your natural hair and the weft. Available in various colors, choose the one that most closely matches your hair for a seamless, natural look.
- Beading Tool (Loop Tool): This essential tool helps pull small sections of your natural hair through the microbeads. It’s simple but crucial for speeding up the process and ensuring precise bead placement.
- Pliers: After threading the beads and adding the weft, you’ll need pliers to clamp the beads securely. Be sure to use pliers designed for hair extensions, as they have a smooth surface to prevent damage to the beads and your hair.
- Weft Hair Extensions: The key component! You can choose from hand-tied or machine-tied wefts. Hand-tied wefts are thinner and ideal for finer hair, while machine-tied wefts add volume and work well with thicker hair.
- Sectioning Clips: Keep your hair organized and out of the way with strong sectioning clips. These are essential for dividing your hair into manageable parts during the application process.
- Tail Comb: Perfect for creating clean, even sections, a tail comb is necessary for precise partings, ensuring a neat and professional application.
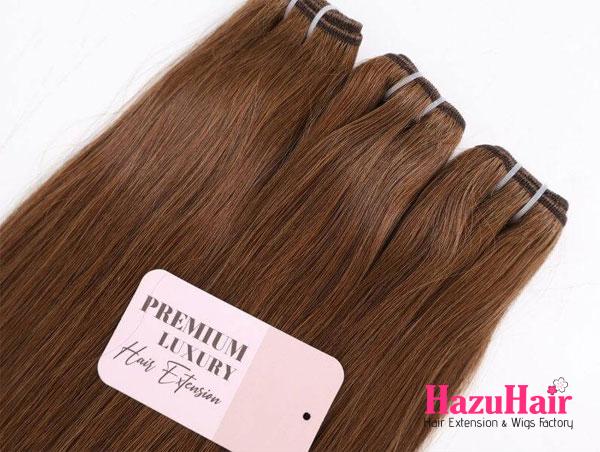
Choosing the Perfect Weft Extensions for You
When learning how to apply weft hair extensions with beads, selecting the right type of extensions is just as important as having the right tools. Here’s a breakdown of the most common types of wefts to help you make the best choice based on your hair type and desired look.
- Hand-Tied Wefts: These wefts are crafted by hand and feature a very thin seam, making them perfect for finer hair. They lie flat against your scalp, providing a natural look without adding excessive volume. If you’re aiming for a subtle, seamless appearance, hand-tied wefts are an excellent option.
- Machine-Tied Wefts: Thicker and stronger, machine-tied wefts are great for people with thicker hair or those wanting to add significant volume. These wefts are more durable and can withstand more wear, making them a good choice if you need something sturdy and long-lasting.
- Genius Wefts: A newer innovation, the Genius Weft combines the best of both worlds – the thin, natural look of hand-tied wefts with the strength of machine-tied wefts. Unlike traditional wefts, Genius Wefts have no return hair, making them virtually undetectable, lightweight, and comfortable to wear.
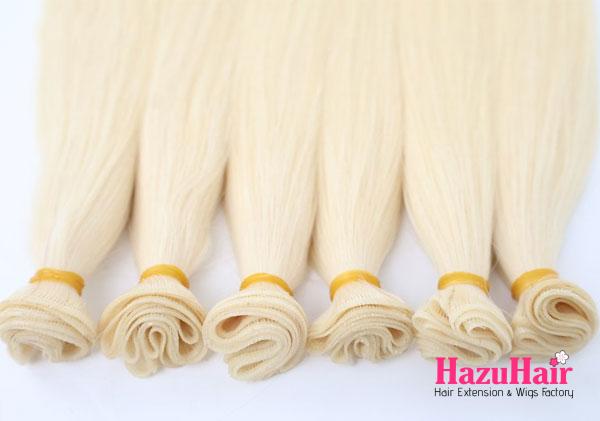
No matter which type of weft you choose, make sure to opt for high-quality hair extensions from a trusted supplier like HazuHair. The quality of the extensions greatly impacts how natural they look and how long they last. Investing in premium weft extensions ensures better blending with your natural hair and a smoother application process.
Step-by-Step Guide: How to Apply Weft Hair Extensions with Beads
Ready to learn how to apply weft hair extensions with beads? Follow this simple, step-by-step guide for a salon-quality result right at home!
Step 1: Section Your Hair
Ensure your hair is clean and fully dry before starting.
Start by sectioning your natural hair horizontally using a tail comb. Divide your hair based on where you want the extensions to begin. Clip the top layers of your hair out of the way, leaving a small section near the nape of your neck to apply the extensions. Secure the sections with hair clips.
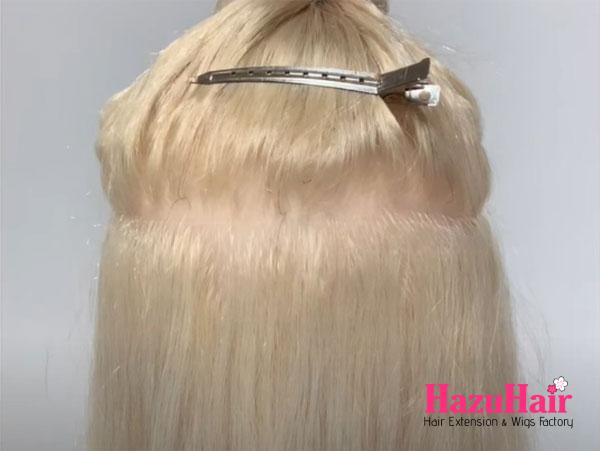
Step 2: Check Weft Placement
Hold the weft extension against the section of your natural hair where you plan to attach it. Check that it aligns correctly and feels comfortable. This step is crucial to ensure the extensions will blend seamlessly and look natural once applied.
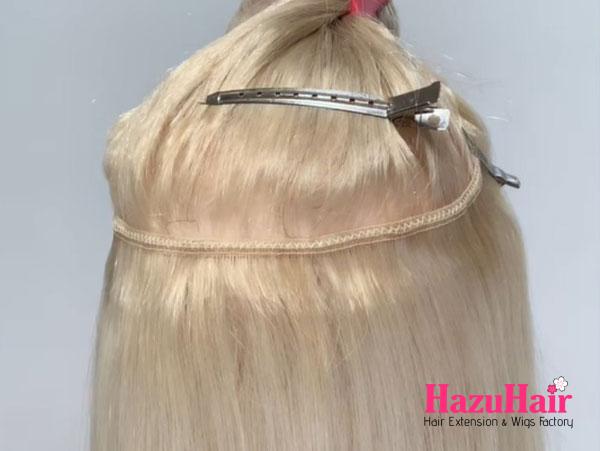
Step 3: Attach the Weft Hair Extension
Take a small section of both your natural hair and the weft. Using your beading tool, thread this section through a microbead. Position the bead close to your scalp but leave a little space for comfort and natural movement.
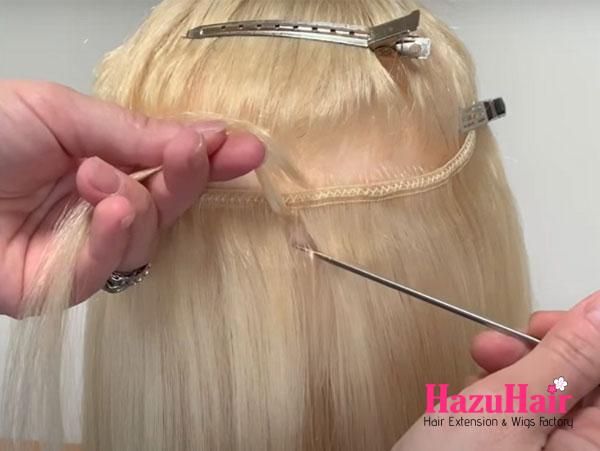
Step 4: Secure the Bead
After positioning the weft and bead, use pliers to clamp the bead securely around your natural hair and the weft. Make sure the bead is tightly closed to hold the hair in place. Repeat this process along the horizontal section until the weft is fully attached.
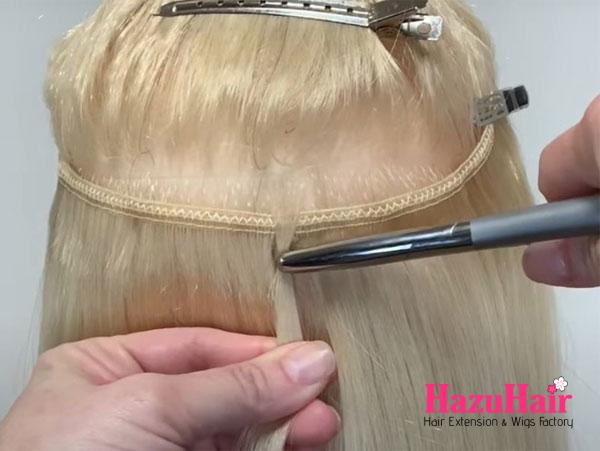
Step 5: Repeat in Sections
Continue working upwards, section by section, and repeat the same steps for each new section. Add beads and attach wefts until you’ve achieved the desired volume and length.
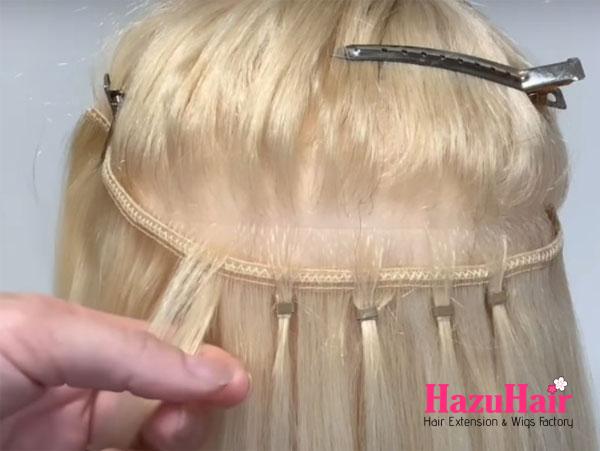
With patience and precision, you’ll have flawless, long-lasting weft hair extensions with beads!
Pros and Cons of Applying Weft Hair Extensions with Beads
Before committing to this method, it’s important to consider both the advantages and potential drawbacks.
Pros:
- No Heat or Glue: One of the key benefits of using beads to apply weft extensions is that no heat or glue is required, reducing the risk of damage to your natural hair.
- Reusability: Both the wefts and beads can be reused after removal, making this method more cost-effective in the long run.
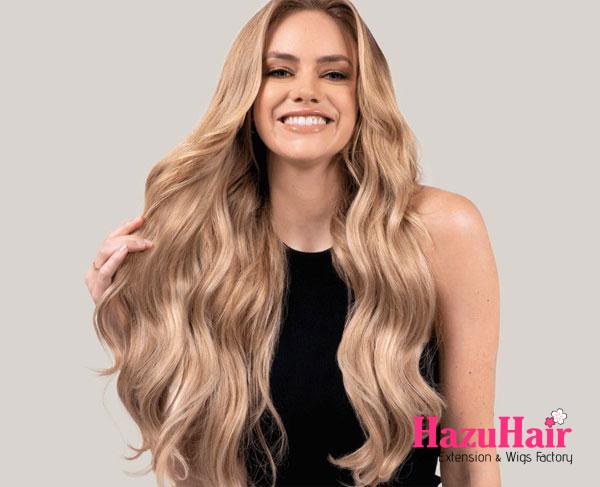
- Natural Look and Feel: The small, discreet beads sit flat against the scalp, allowing the wefts to blend seamlessly with your natural hair. This method ensures there are no stiff or bulky bonds, letting your hair move freely.
- Comfortable: Once applied, the bead method is generally comfortable. The beads provide some flexibility, so your scalp doesn’t feel tight or pulled.
Cons:
- Regular Maintenance Required: Over time, the beads may slip or loosen, meaning you’ll need to schedule regular maintenance visits to keep everything secure and looking fresh.
- Not Ideal for Very Fine or Thinning Hair: The combined weight of the weft and the tension from the beads may be too much for fine or thinning hair, potentially causing strain.
- Time-Consuming Application: The process of applying weft extensions with beads can take several hours, particularly if you’re new to the technique. Depending on the number of wefts and your experience level, this method can be quite time-intensive.
How to Care for Your Weft Hair Extensions After Application
Taking proper care of your weft hair extensions is crucial to maintaining their look and extending their lifespan.
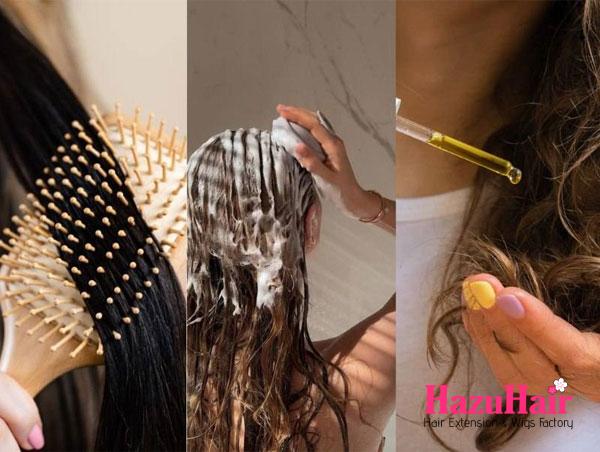
- Brush Gently: Use a soft-bristle brush to carefully detangle your hair, starting from the tips and working your way upward. Avoid brushing directly over the beads to prevent them from slipping.
- Wash with Care: Use sulfate-free shampoos and conditioners when washing your hair. Focus on your scalp, letting the water flow down through the extensions without scrubbing too hard. Be gentle around the beads to prevent slippage. When conditioning, apply it to the mid-lengths and ends to avoid buildup near the beads.
- Avoid Heat Damage: While your weft extensions are durable, it’s best to limit the use of heat styling tools. If you need to use them, always apply a heat protectant first. To reduce heat exposure, explore heat-free styling methods, such as braiding for waves or using Velcro rollers for volume.
- Tighten Beads: Regularly check the beads and tighten them as necessary to keep your extensions secure.
- Avoid Products That Cause Buildup: Heavy products like oils, serums, and hairsprays can cause buildup around the beads and wefts, leading to a greasy appearance or slippage.
- Sleep with Care: To prevent tangling or matting while you sleep, braid your hair loosely into a low braid or ponytail. Alternatively, sleep on a silk or satin pillowcase to reduce friction and keep your natural hair and extensions smooth and tangle-free.
When to Adjust or Replace Microbeads
Microbeads may loosen over time due to natural hair growth or general wear and tear. Here’s when and how to adjust or replace them:
- Adjust Every 6-8 Weeks: To keep your extensions secure, it’s recommended to have your beads adjusted every 6 to 8 weeks. This adjustment, typically done by a professional, involves moving the beads closer to the scalp. Regular adjustments help maintain a natural and seamless look.
- Replacing Beads: If the beads become damaged or frequently slip, it’s time to replace them. This can be done during a maintenance appointment to ensure your weft extensions stay in top condition.
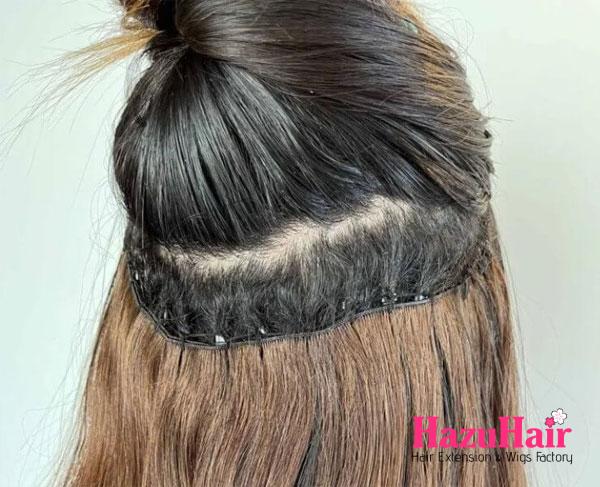
Mastering the application of weft hair extensions with beads is an excellent way to add volume and length to your natural hair. With the right tools, high-quality wefts, and proper care, your extensions can last for months. If you’re ever uncertain about the application or need adjustments, it’s always a good idea to seek professional help.
For the best results, choose a reputable hair supplier like HazuHair. With premium extensions, you’ll enjoy a flawless, long-lasting look that effortlessly enhances your style. Ready to upgrade your hair with high-quality weft extensions?
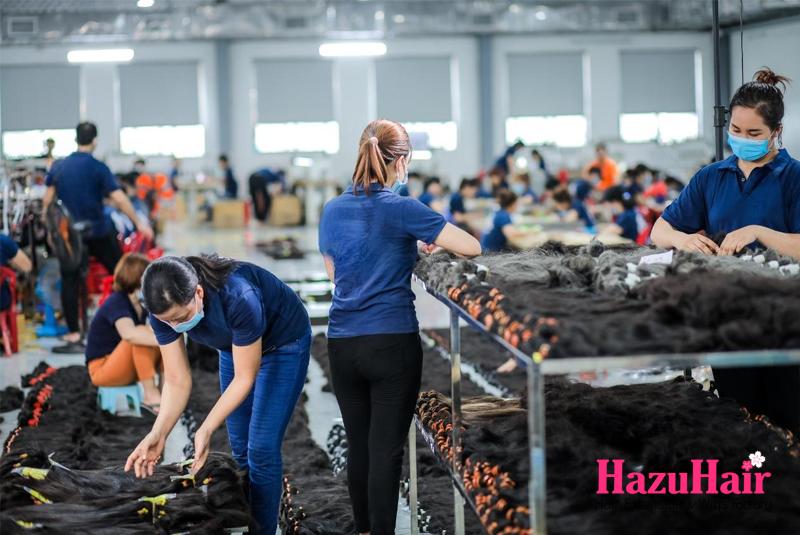
We are a trusted Vietnamese hair factory with over 100 skilled workers, offering a wide range of hair styles including wavy, curly, straight, kinky, and more.
Our products come in various colors such as natural black, ombre, blonde, red, pink, and many others.
Reach out to us today!
- Hair Factory: Tan Son 2 Village, Tan Dinh, Lang Giang, Bac Giang Province, Vietnam
- Hotline: +849 4949 3883
- Whatsapp Mrs ThanhLam: https://wa.me/84949493883
- Website: https://hazuhair.com
