Hair knowledge
How To Clip In Hair Extensions
So, you’ve finally got your gorgeous set of Hazu Hair extensions but aren’t quite sure how to clip and blend them in. If you’re looking for a detailed guide on how to apply your hair extensions, you’re in the right place.
We’ve put together a step-by-step video tutorial showing you exactly how to clip in Hazu Hair extensions. Whether it’s your first time wearing extensions or you’re just looking for some tips, this guide will walk you through the proper placement of each weft and how to style them for a flawless blend with your natural hair.
It’s completely normal to feel a bit unsure when it comes to hair extensions—many people aren’t familiar with how to use them. But after reading this post and watching the video, you’ll see just how simple it is to transform your hair into long, voluminous tresses in just minutes, without causing any damage. Sounds amazing, right? Let’s dive in! Watch the video now, or keep reading for the full text instructions.
The tools you will need
Here’s what you’ll need to get started:
- Your full set of clip-in hair extensions
- Loop Hair Extensions Brush or a soft paddle brush
- HazuHair Signature Curler
- Deluxe Hair Extensions Styler
- Application Kit or clips and a rattail comb
- A mirror
One of the standout features of HazuHair extensions is their durable and secure clips. Each clip is designed with a silicone grip, ensuring the weft stays firmly attached to your hair without slipping. Simply click the clip open to apply and click it closed to secure.
The beauty of clip-in hair extensions is their flexibility. Unlike taped, bonded, or glued extensions, clip-ins offer a no-commitment solution—you can easily clip them in or take them out, allowing you to switch from short to long hair whenever you feel like it!
How to Clip in Hair Extensions
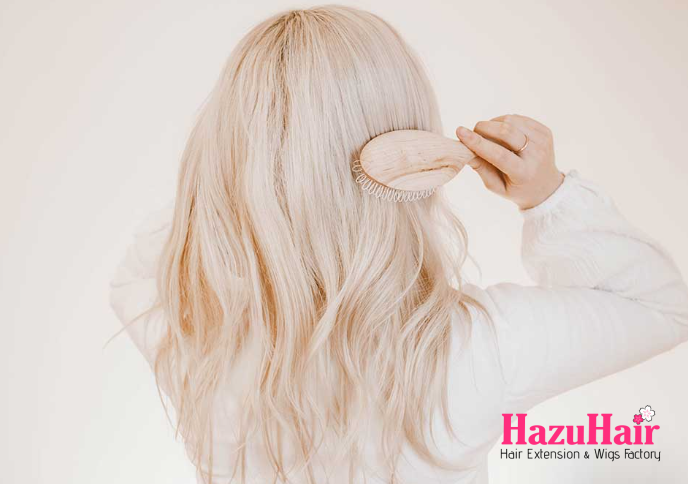
Step 1: Brush Your Hair
Begin by thoroughly brushing your hair with a soft paddle brush or a Loop Extensions brush to eliminate any tangles.
Step 2: Start with a 3-Clip Weft
Part a straight, thin section of your hair at the nape of your neck using your finger or a comb, and secure the rest of your hair with a clip. Take a 3-clip weft, brush it out from bottom to top to remove any tangles.
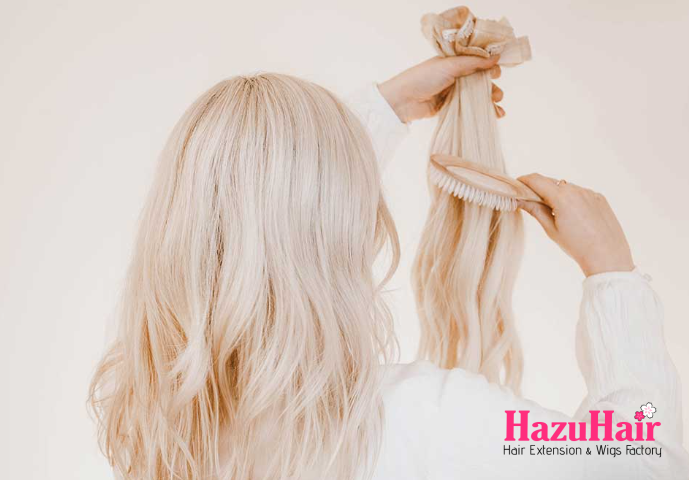
Measure the weft against your head to ensure it fits the section. Then, locate the center of your head and clip the middle clip into your hair’s roots, as close to the roots as possible.
For added security, gently pull the hair away from your scalp or tease it slightly. Once the middle clip is secured, clip in the left and right sides, pulling the weft taut. Repeat this process for every weft.
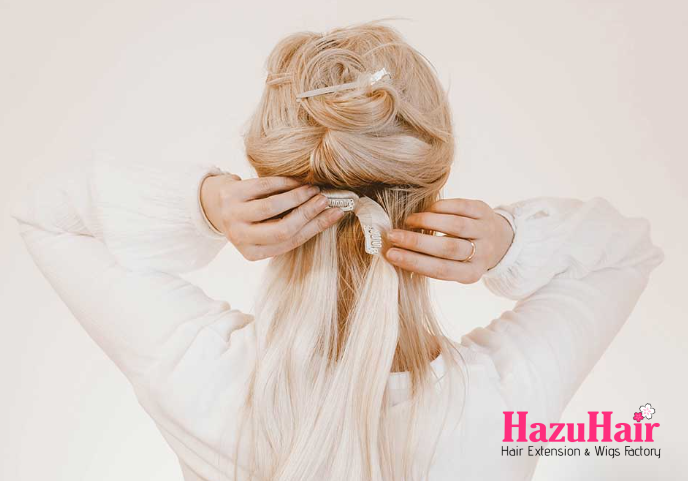
Step 3: Apply a Smaller 4-Clip Weft
Part another thin section of hair about an inch above the first weft, near the top of your ears, and secure the remaining hair. Take the smaller 4-clip weft (7″) and brush it from bottom to top. Measure it against the section of hair to ensure it fits.
Find the center of your head and clip in the middle two clips first, followed by the side clips, ensuring the weft is smooth and secure.
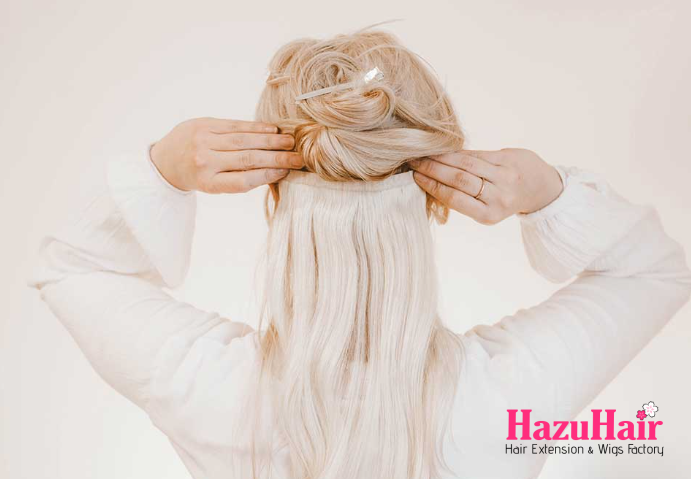
Step 4: Apply the Largest 4-Clip Weft
Part another thin section of hair about an inch above the second weft, at the widest part of your head. Secure the rest of your hair away.
Take the largest 4-clip weft (8″), brush it out, and measure it against your head. Clip the middle two clips in first, then secure the side clips.
If you are using a 20″ 120g set or a 16″ 140g set, you can skip this step and continue with the next one using the second 3-clip weft.
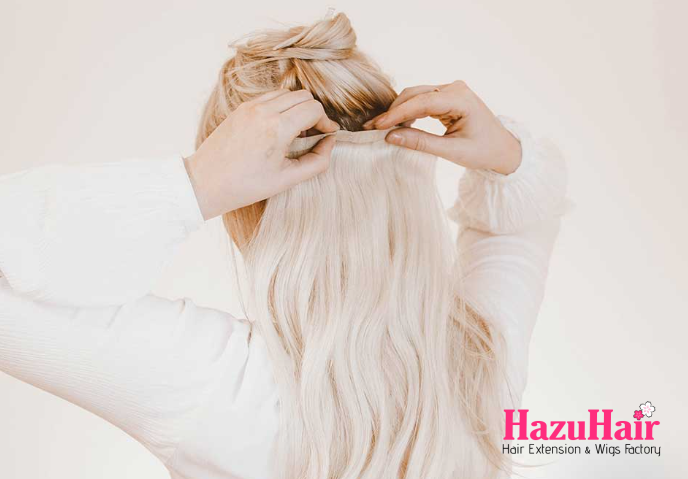
Step 5: Apply the Second 3-Clip Weft
Part a thin section of hair about two inches below the crown of your head and secure the rest with a clip. Take the second 3-clip weft, brush it carefully, and measure it against your head to ensure a perfect fit. Clip the middle clip into the roots first, followed by the side clips. Now, all the large wefts at the back of your head should be in place, leaving only the smaller wefts.
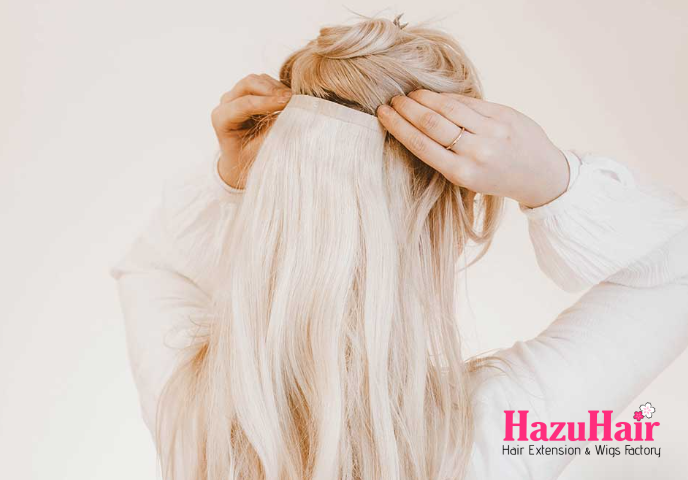
Step 6: Apply the 2-Clip Wefts
These wefts are for the sides of your hair, adding volume and ensuring your front hair blends seamlessly with the extensions.
Part a thin section of hair about two inches above your ear on one side, and clip away the rest. Attach the first clip of the 2-clip weft near your hairline, followed by the second clip closer to the back of your head. Repeat the same process on the other side.
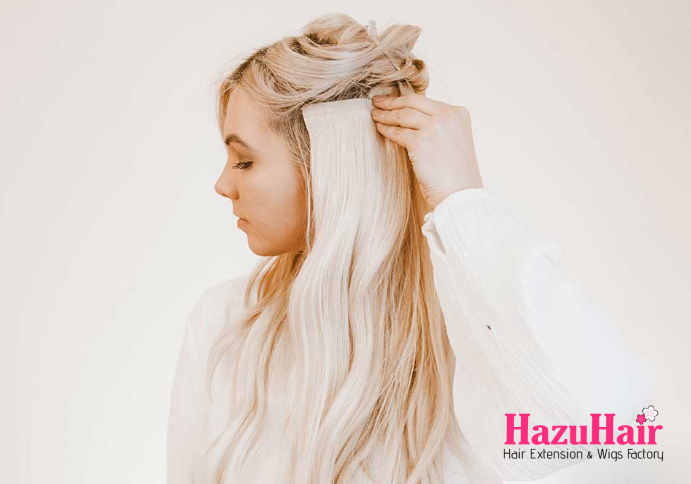
Step 7: Apply the 1-Clip Wefts
Part a small section of hair just above the 2-clip weft and secure the rest of your hair. Brush out two 1-clip wefts and clip them as close to the roots as possible, either above the 2-clip weft or in any area that needs more blending.
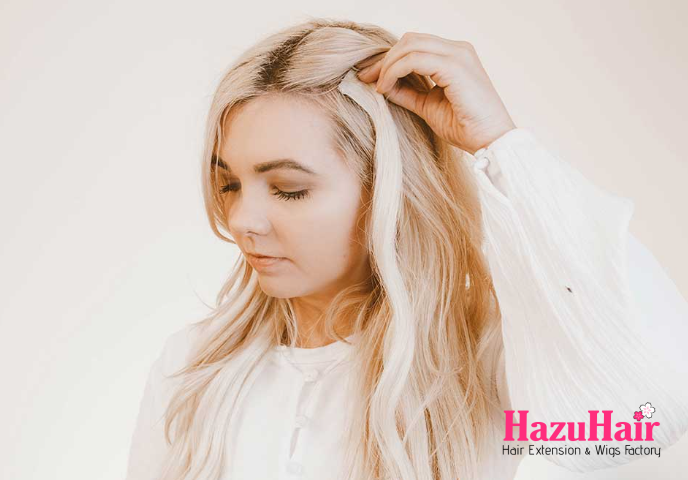
Repeat the process on the other side.
Brush your hair thoroughly and check in the mirror to ensure all the wefts are well-hidden, particularly at the back. Adjust if needed and flaunt your new long, voluminous hair!
When brushing your extensions, always use a HazuHair Loop Extensions Brush, as its nylon looped bristles glide smoothly over the roots without tugging at the wefts, helping to protect both your natural hair and extensions.
With a little practice, clipping in and blending your hair extensions will take only a few minutes!
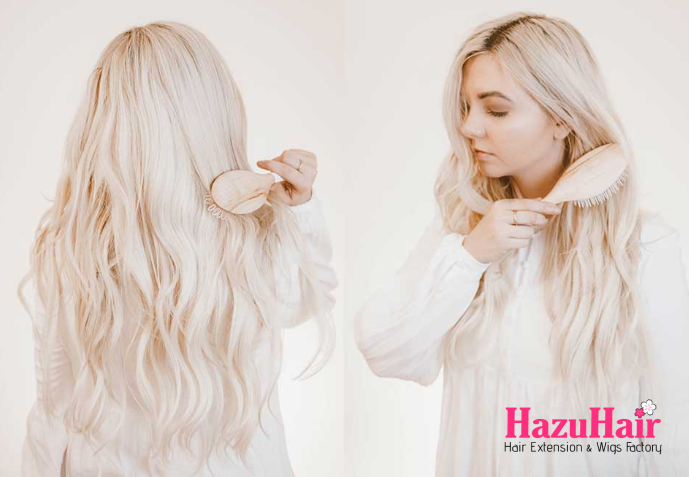
FAQ
How to Blend Hair Extensions with Short or Thin Hair
If you have short hair, we recommend watching our tutorial on how to clip in extensions for shorter hair. You might also want to explore our 16″ collection, which is designed to blend more easily with short hair.
For those with thin hair, check out our helpful tips on how to seamlessly blend hair extensions with fine hair to achieve a natural look.
How to Maintain Your Clip-In Hair Extensions
If you’re investing in high-quality human hair extensions like those from HazuHair, it’s important to treat them with the same care as your natural hair.
Do: Use mild shampoos to cleanse your extensions of dirt and product buildup. Follow up with a rich conditioner to provide moisture, ensuring your clip-ins stay healthy, shiny, and soft. Ideally, air dry your extensions, but if you use a blow dryer, make sure to apply a heat protectant first.
Do: Apply lightweight oils, such as argan oil, to add shine and hydration.
Don’t: Neglect cleaning your clip-ins for long periods. Styling dirty extensions is as problematic as styling unwashed hair.
How to Keep Clip-Ins Soft
While products help, the tools you use play a big role in maintaining softness.
Do: Use a wet brush, detangle brush, or bamboo paddle brush, all of which prevent tangles and protect the hair cuticles for smooth blending.
Don’t: Use inappropriate brushes for your extension’s texture. For example, avoid using small combs on curly clip-ins. Stay away from alcohol-based products that can dry out curls—opt for curl-enhancing formulas instead.
Can You Shower with Clip-Ins?
While clip-ins are versatile, it’s not advisable to shower with them attached, as this can cause tangling.
Do: Use a shower cap to keep your hair dry while washing.
Don’t: Shampoo your hair with the clip-ins still in place.
How to Wash Your Clip-Ins
- Brush the extensions to remove tangles.
- Fill a sink with lukewarm water and add gentle shampoo.
- Soak the extensions briefly.
- Gently massage the shampoo through the extensions, avoiding the clips.
- Rinse thoroughly with lukewarm water.
- Apply conditioner, avoiding the clips.
- Leave the conditioner in for a few minutes, then rinse.
- Blot the extensions with a towel.
- Allow them to air dry or use a hair dryer on a low setting.
Can You Sleep in Clip-Ins?
Sleeping with clip-ins isn’t recommended, as it can cause breakage due to the small combs securing the hair. It’s best to remove them at night and reinstall them the next day.
How to Store Your Clip-Ins
To prolong the life of your clip-ins, proper storage is key.
Do: Store them in a cool, dry place away from direct sunlight. Keep them in their original packaging or a protective storage bag to prevent tangling.
Don’t: Leave them tangled or mixed with other products.
How Long Do Clip-In Extensions Last?
With proper care, clip-in extensions can last between 6 to 12 months. HazuHair extensions, in particular, are made from luxury, cuticle-aligned hair from a single donor, ensuring they stay soft and silky from root to tip.
Do: Maintain regular care, including shampooing, conditioning, and proper storage.
Don’t: Expose them to harsh chemicals or extreme heat, as this may cause faster deterioration. If you want to change the colour of your extensions, explore HazuHair’s extensive range of Black, Brown, and Blonde shades.
and…
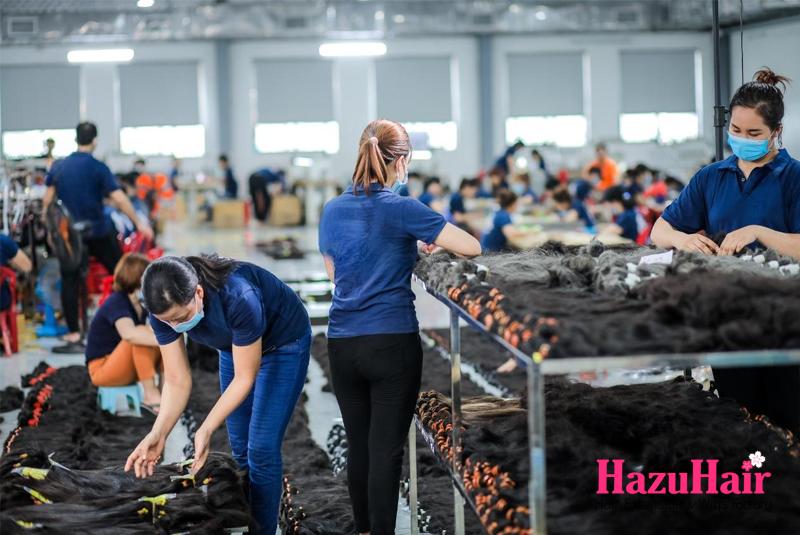
If you’re looking to buy high-quality wigs or hair extensions, look no further than HazuHair.
We are a trusted Vietnamese hair factory with over 100 skilled workers, offering a wide range of hair styles including wavy, curly, straight, kinky, and more.
Our products come in various colors such as natural black, ombre, blonde, red, pink, and many others.
Reach out to us today!
- Hair Factory: Tan Son 2 Village, Tan Dinh, Lang Giang, Bac Giang Province, Vietnam
- Hotline: +849 4949 3883
- Whatsapp Mrs ThanhLam: https://wa.me/84949493883
- Website: https://hazuhair.com
