Hair Care Tips
How To Curl A Human Hair Wig
Curls reign supreme in the wig world, adding flavor, texture, and volume to any unit. Whether you’re aiming for loose, beachy waves or perfectly defined ringlets, knowing how to curl your wig like a pro is essential. In this guide, we’ll explore two key methods for curling human hair wigs, helping you decide which one suits your needs best. By the end, you’ll feel confident in achieving those gorgeous curls!

How to Curl a Human Hair Wig with a Curling Iron
A curling iron is a fantastic tool for adding quick and beautiful texture to your wig. If you’re after a fast, stylish look, this method delivers curls that can last anywhere from 3 to 5 days. The best part? You can customize the size and shape of your curls with ease.
The key to success lies in choosing the right curling iron. A large barrel will give you loose, flowing waves, while a smaller barrel will create tighter, more defined ringlets. Depending on the length and thickness of your wig, the curling process can take anywhere from 30 minutes to an hour.
Below, we’ll guide you through all the steps you need to safely and effectively curl your human hair wig with a curling iron, so you can rock flawless curls every time!
Get Your Supplies Ready
- Heat protectant
- Curling iron
- Wide-tooth comb
- Holding spray
Steps to Curl a Wig with a Curling Iron
Step 1: Start with a clean, dry wig.
Ensure the wig is free from product buildup for best results.
Step 2: Secure your wig on either your head or a wig stand.
This will give you better control while styling.
Step 3: Heat up your curling iron.
- For fine hair, keep the temperature below 300°F (150°C).
- For thick or coarse hair, use 300°F to 400°F (150°C to 200°C).
Step 4: Apply heat protectant to the wig.
Use a wide-tooth comb to distribute the product evenly and prevent heat damage.
Step 5: Take a small section of hair and detangle it thoroughly.
Step 6: Wrap the section around the curling iron barrel.
Hold for 8 to 10 seconds for perfect curls.
Step 7: Gently release the curling iron.
Avoid touching the curls until they cool to room temperature to maintain their shape.
Step 8: Continue curling in small sections.
Change the curling iron’s angle for varied curl styles.
Step 9: Once finished, apply a bit of oil or serum to your fingertips.
Gently separate the curls with your fingers for a polished look, or use a brush or comb for voluminous waves.
Step 10: Finish with a light mist of holding spray.
This will lock in your style and keep your curls intact throughout the day.
Pros and Cons of Using a Curling Iron to Curl a Human Hair Wig
This section will give you a balanced view of the advantages and drawbacks of using a curling iron to style your human hair wig. By the end, you’ll have a clear idea of whether this method suits your needs.
Pros:
- A curling iron offers full control over the shape and size of your curls, allowing for customization.
- It provides instant results, making it an ideal choice when you’re pressed for time.
- Curls created with a curling iron typically last longer compared to heatless curling methods.
Cons:
- The heat from curling irons can shorten the lifespan of your wig by damaging the hair fibers.
- Achieving the desired results requires some skill and practice.
- There’s a risk of burns when using hot tools.
How to Curl a Human Hair Wig with Curling Rods or Rollers
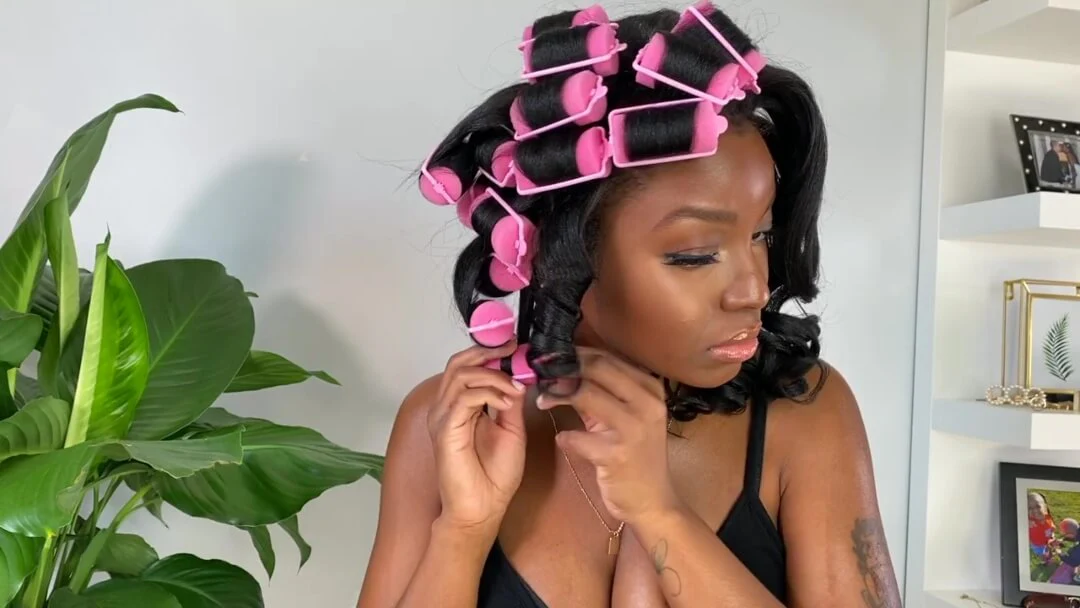
Curling rods and rollers are fantastic for achieving defined curls or coils without using heat. Curling rods are soft, flexible foam sticks that shape damp hair as it dries, giving you beautiful, heat-free curls.
This process typically takes 1 to 3 hours, depending on your wig’s length and thickness. With proper care, the curls can last for several days. Follow these easy steps to curl your human hair wig using curling rods.
Gather Your Materials:
- Curling rods
- Spray bottle
- Hair oil
- Rattail comb
- Setting lotion or curl enhancer
- Blow-dryer (optional)
Instructions for Curling a Wig with Curling Rods or Rollers:
Step 1: Start with a clean, damp wig. If your wig is dry, lightly mist it with water using a spray bottle.
Step 2: Choose your curling rods. Larger rods will create looser, bouncier curls, while smaller ones produce tighter curls.
Step 3: Section a small part of the hair and detangle it.
Step 4: Apply a setting lotion or curl enhancer to the section.
Step 5: Wrap the damp hair around the curling rod, rolling it until the rod is close to the wig’s base.
Step 6: Secure the rod by bending its ends to hold it in place.
Step 7: Repeat for the entire wig.
Step 8: Allow the hair to dry overnight or until completely dry. Thicker wigs may take longer to dry, so using a blow-dryer on a cool setting can speed up the process.
Step 9: Once the hair is dry, carefully unwind the rods in the opposite direction of the roll.
Step 10: Repeat step 9 for each rod until all are removed.
Step 11: Rub a small amount of hair oil on your fingertips and gently style the curls with your fingers to reduce frizz and add shine.
Step 12: Finish with a light spray of hairspray to set your curls in place.
The better you care for your wig, the longer it will last and the more stunning it will remain. Be sure to use high-quality products, minimize the use of heat tools when possible, and handle your wig with the same care as your natural hair. We hope this guide has provided you with the knowledge to do just that, helping you achieve the beautiful curls and waves you deserve!
and…

If you’re looking to buy high-quality wigs or hair extensions, look no further than HazuHair.
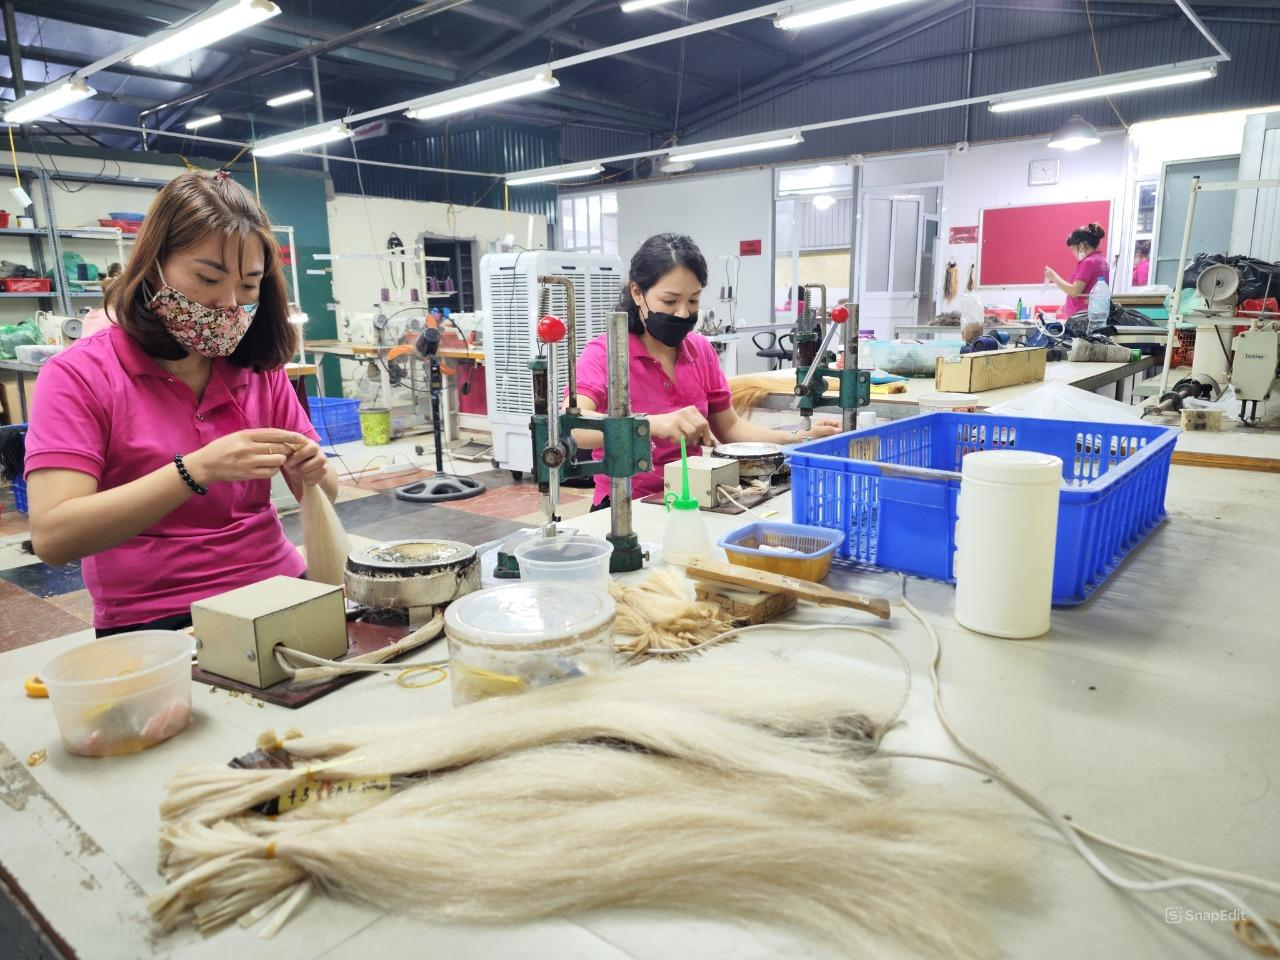
We are a trusted Vietnamese hair factory with over 100 skilled workers, offering a wide range of hair styles including wavy, curly, straight, kinky, and more.
Our products come in various colors such as natural black, ombre, blonde, red, pink, and many others.
Reach out to us today!
- Hair Factory: Tan Son 2 Village, Tan Dinh, Lang Giang, Bac Giang Province, Vietnam
- Hotline: +849 4949 3883
- Whatsapp Mrs ThanhLam: https://wa.me/84949493883
- Website: https://hazuhair.com
