Hair Care Tips
How to Glue a Lace Front Wig
Imagine this: you’ve just received the gorgeous lace front wig you’ve been eyeing for ages, and it arrives in pristine condition. Eager to save some money, you decide to install it yourself. However, things quickly take a frustrating turn as you struggle with applying the wig glue—using either too little or too much—and end up damaging your expensive lace.
As an experienced wig wearer, you understand that achieving a secure, long-lasting fit, even during intense workout sessions, depends on how well you glue your lace wig down. You also know that for a seamless, undetectable blend, proper application is essential. When done right, not even a professional will be able to tell where your wig starts and ends!
By mastering the technique of laying your wig correctly, the process becomes straightforward, and you’ll achieve flawless results every time. Get comfortable and dive into this comprehensive guide on how to perfectly glue down a lace front wig.
Tools and Products Needed to Glue a Lace Front Wig
Here’s a list of essential tools and products you’ll need to successfully glue down your lace front wig. Make sure to gather everything beforehand to save time during installation:
- Got2B Glued Blasting Freeze Spray, Holding Spray, or Edge Control
- Edge Control Brush
- Wig Glue
- Wig Cap
- Rattail Comb
- Isopropyl (Rubbing) Alcohol
- Plastic Eyebrow Razor or small, sharp scissors
- Satin Scarf
- Q-Tips
- Blow Dryer
How to Glue Your Lace Front Wig: Step-by-Step Guide
Step 1: Wash Your Natural Hair
Before installing your lace wig, it’s important to start with clean, healthy hair. Wash and condition your hair as usual, and make sure to nourish your scalp with a hydrating oil to prevent dryness and itching. Once your hair is dry and moisturized, braid it into 7 or 8 cornrows, starting at the front and going towards the back of your head.
Step 2: Clean Your Forehead
To ensure the wig adhesive sticks properly, your skin needs to be clean. Wash your face, especially your forehead, to remove any oils or moisturizers that could interfere with the adhesive.
Step 3: Flatten Your Natural Hair
After washing and braiding your hair, and cleansing your skin, use Got2B Glued Freeze Blasting Spray, a holding spray, or edge control to slick your hair back. If your braids are neat and tight, you can skip this step. Use an edge control brush to smooth back any stray hairs along your hairline. Next, apply your wig cap, ensuring that you leave your hairline exposed for a natural look.
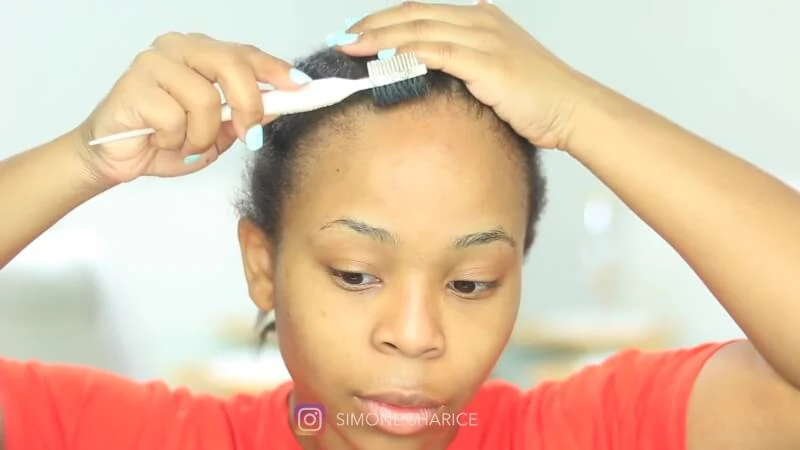
Step 4: Position Your Lace Front Wig
Place your lace front wig on your head and adjust it until you’re happy with the positioning. Fold the excess lace at the front back, so it touches the wig’s hair and leaves your natural hairline visible. Make sure the wig is positioned exactly how you want it before applying glue.

Step 5: Apply Wig Glue
Now, measure about ½ inch to 1 inch away from your natural hairline, and apply a small amount of wig glue along this line, avoiding your edges to prevent damage. Apply a thin layer of glue in small dots, then use the end of a rattail comb to smooth it out. Be sure to wait until the glue dries clear before adding another layer. For a strong hold, two layers of glue are usually sufficient, but if you’re highly active or live in a humid environment, consider applying three layers.
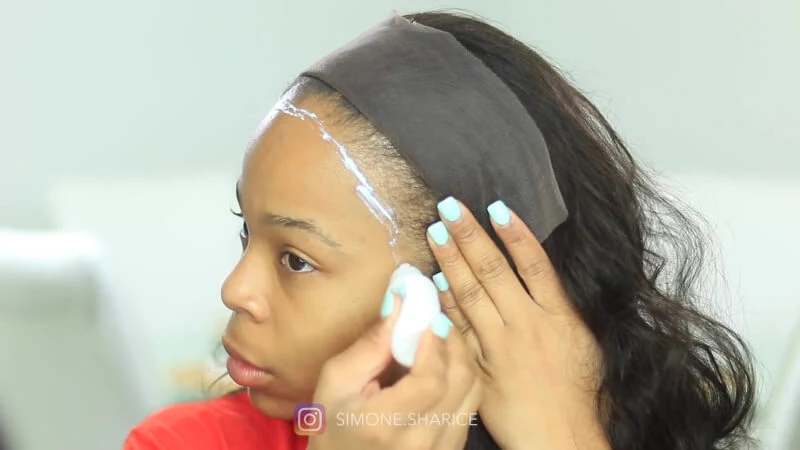
Pro Tip: If you’re new to wig application, work in sections. Start at the center of your forehead, press the lace down, and then move on to the sides.
Step 6: Secure the Wig Hairline
Once the glue is tacky and clear, gently bring the folded lace back down and align the wig’s hairline with the glue. Avoid lifting the wig once it’s placed. Use the end of your rattail comb to press the lace firmly into the glue. Continue pressing with the comb until the wig is securely in place.
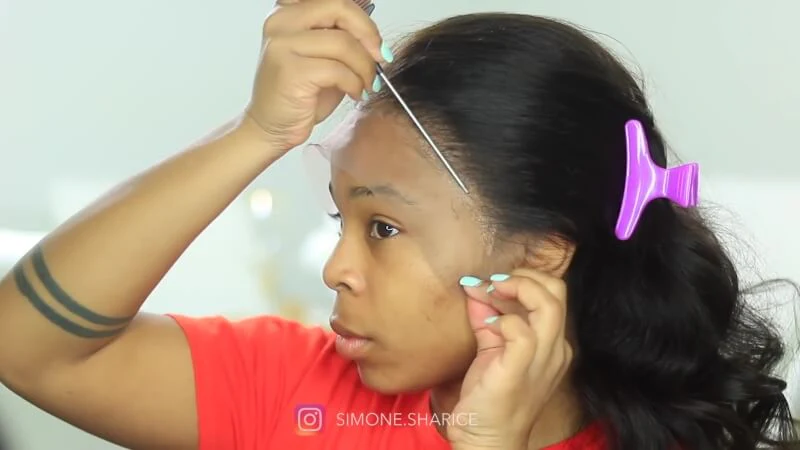
Step 7: Trim the Excess Lace
Now it’s time for one of the most crucial steps—cutting the lace! If your wig’s lace hasn’t been pre-trimmed, follow this guide. Start by using a plastic eyebrow razor or small sharp scissors. Begin at the center of your forehead and cut the lace diagonally, moving the tool towards your hairline.
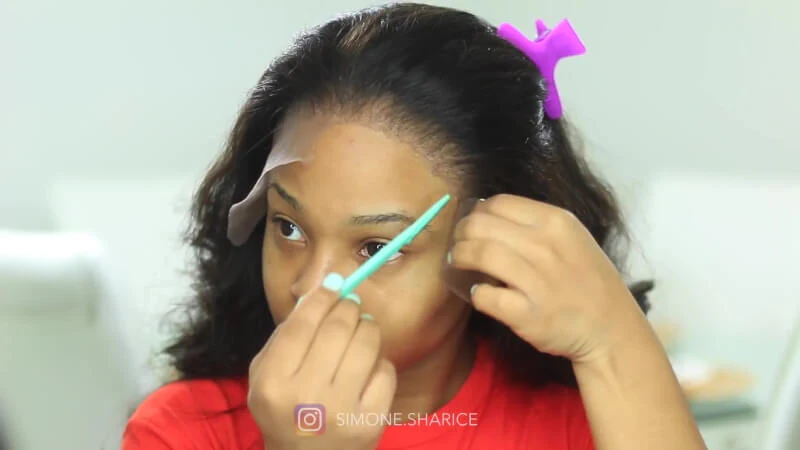
Pro Tip: If using a plastic eyebrow razor, ensure the sharp side faces away from your skin to avoid any accidental cuts.
Next, carefully trim off the excess lace, leaving about 3 mm (approximately ⅛ inch) of lace. Be precise as you cut along the hairline and make sure to remove any lace near your ears for a clean, natural fit.
Step 8: Remove Excess Glue
After trimming, you may notice some excess glue around your hairline. To clean this up, take a Q-Tip and lightly dab Isopropyl alcohol in a blotting motion to remove the glue. Remember, the glue should dry clear, but if there’s any white residue, clean it gently without touching the lace itself.
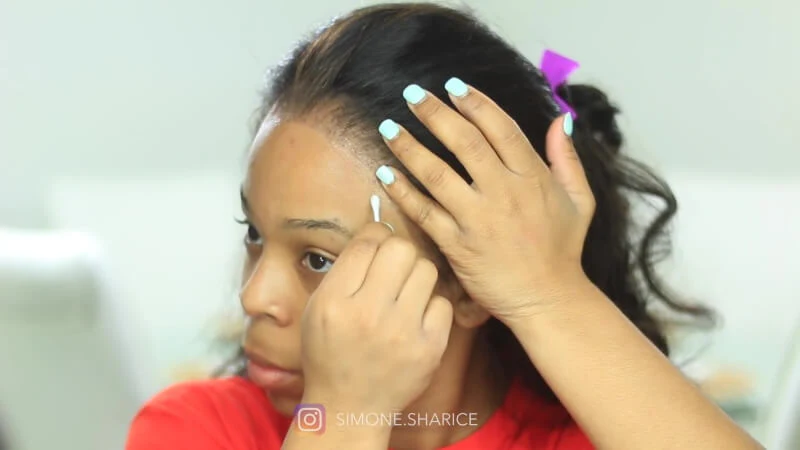
Important: Avoid direct contact with the lace to prevent lifting it from your skin after all your hard work!
Step 9: Melt & Style
Congratulations, you’re almost done! The final step is to melt your lace for that flawless, undetectable finish. Use a makeup brush to apply a small amount of powder that matches your skin tone, blending the lace seamlessly with your skin.
Using the back of your rattail comb, press the lace down until it melts into your scalp. If you want to style your baby hairs or edges, spray your edge control brush with Got2B glue spray or edge control and shape them to your liking. Don’t worry—the spray won’t stiffen your brush as some might believe.

Pro Tip: For the best results, wrap your hairline in a satin scarf and blow-dry it to seal the lace. Now you’re ready to rock your perfectly installed wig!
Why Properly Gluing Down Your Lace Wig Matters
If you were to ask your favourite celebrity hairstylist about the significance of the perfect gluing technique, they could easily fill a book with reasons! Here are some key points highlighting why it’s essential to focus on how you secure your wig.
For the Perfect Melt
Achieving a flawless melt is crucial. When your wig is properly secured, it should blend seamlessly with your scalp, making it virtually undetectable. Even the most luxurious wigs can appear obvious if the lace isn’t expertly melted. Applying glue correctly is vital to ensure no one can spot where the wig meets your hairline. A haphazard application can lead to a visible or lifted hairline, ruining the look.
For a Natural-Looking Hairline
One of the most common giveaways that someone is wearing a wig is a lifted hairline. While having the right hairline density is important for realism, the correct application of adhesive is equally crucial. If you desire a believable hairline, mastering the gluing technique is essential. The last thing you want is for your wig to lift in the wind like a toupee!
For a Long-Lasting, Secure Fit
The effectiveness of your glue directly affects how long your wig stays in place. High-quality lace front wigs are meant for extended wear, and you’ll want to maximise your investment. By employing proper gluing techniques, you can wear your wig for months without worrying about it lifting prematurely.
For the Protection of Your Edges
Improperly securing your lace wig can lead to a host of issues, such as flaky skin, irritation, blocked pores, an itchy scalp, and even edge breakage. If you have sensitive skin, it’s essential to be cautious about your choice of glue. A correctly glued wig can actually protect your edges, ensuring they remain healthy when it’s time to remove the wig. As you read further, you’ll learn how to apply glue carefully, especially on the skin just in front of your edges on your forehead.
Tips for Applying Wig Glue While Protecting Your Edges
To keep your edges safe and healthy while securing your new lace wig, consider the following tips:
- Moisturise Your Edges: Start by hydrating your edges to prevent dryness and breakage. A good moisturiser will keep your hair resilient.
- Smooth Down Your Edges: Before applying glue, smooth your edges down to minimise the chance of stray hairs getting trapped in the adhesive.
Pro Tip: Consider using an edge control product for added nourishment and hold.
- Use a Wig Cap: Protect your edges by fully covering your natural hairline with a wig cap. This adds an extra layer of defence against the glue.
- Avoid Direct Contact: When applying wig glue, make sure to keep it away from your edges to prevent irritation and damage.
- Careful Removal: When it’s time to take off your lace wig, do so gently and slowly using a wig adhesive remover or isopropyl alcohol. This helps avoid pulling at your natural hair.
With a bit of preparation, the right tools, and by following the correct procedure, you can enjoy a natural-looking, freshly installed wig in no time! Clean skin and an effective gluing method make sealing your wig easier than ever.
For high-quality, 100% virgin hair that is soft, supple, highly rated, and luxuriously appealing, explore our outstanding selection of human hair lace front wigs at Hazuhair!
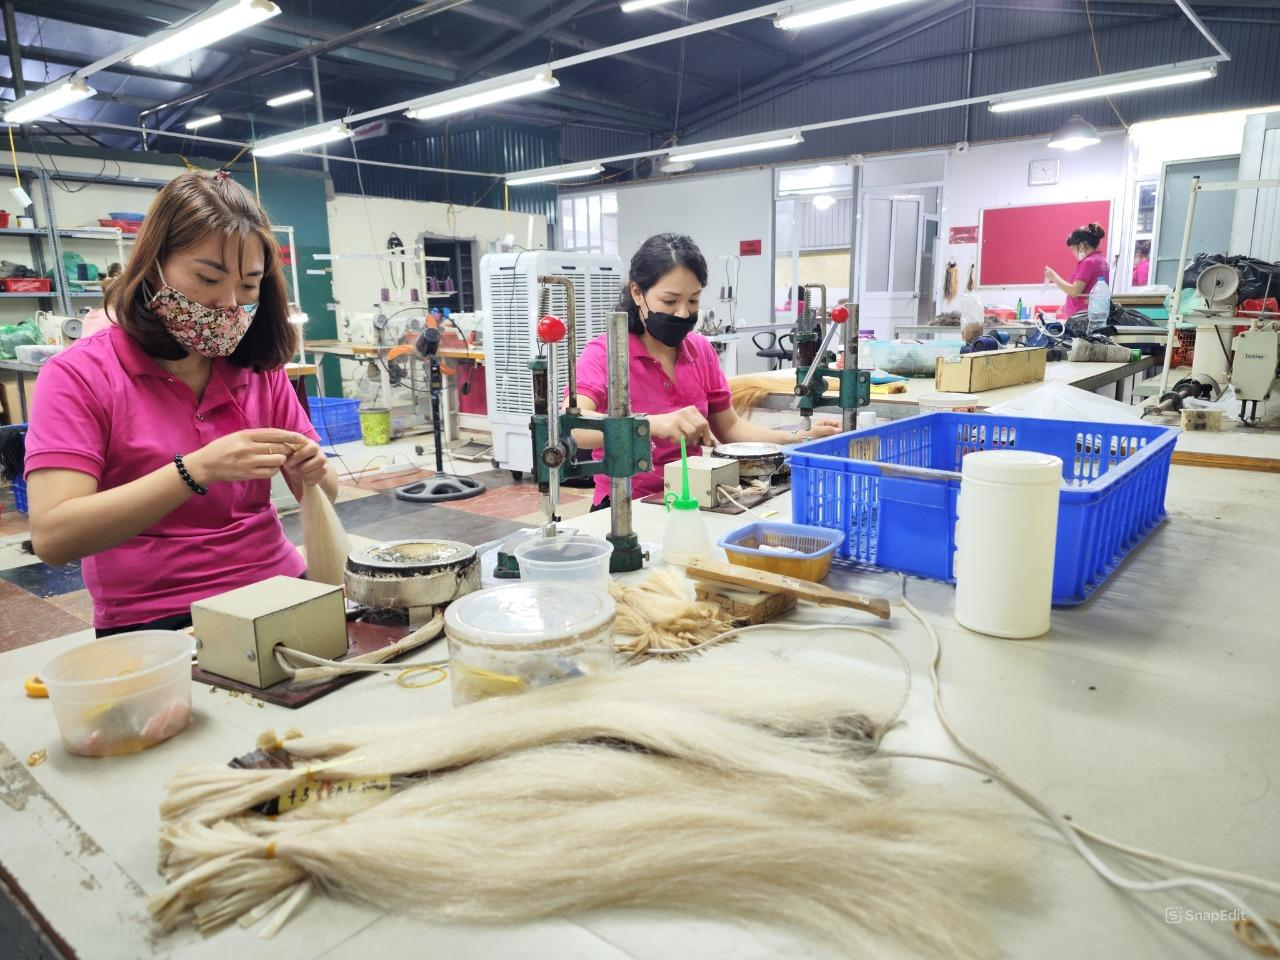
We are a trusted Vietnamese hair factory with over 100 skilled workers, offering a wide range of hair styles including wavy, curly, straight, kinky, and more.
Our products come in various colors such as natural black, ombre, blonde, red, pink, and many others.

Reach out to us today!
- Hair Factory: Tan Son 2 Village, Tan Dinh, Lang Giang, Bac Giang Province, Vietnam
- Hotline: +849 4949 3883
- Whatsapp Mrs ThanhLam: https://wa.me/84949493883
- Website: https://hazuhair.com
