Hair Care Tips
How To Put On A Wig Cap
A snug, well-fitting wig cap is essential for achieving a flawless wig look. It helps flatten your natural hair and provides a smooth base for your unit, ensuring a natural appearance every time. If you’ve been skipping the wig cap or aren’t confident in how to apply it, this guide is for you! In this article, we’ll walk you through how to put on a wig cap properly.
While putting on a wig cap might seem simple, getting that perfectly laid result requires a little more effort than just throwing it on. Follow these step-by-step instructions to master your wig cap application like a pro!

How To Put On A Wig Cap
Gather Your Materials
Make sure you have everything you need before starting. Here’s what you’ll need:
- Holding spray or hair gel (like Got2b Glued Freeze Spray)
- Wig cap
- Blow dryer
- Scissors
Step-by-Step Guide to Applying a Wig Cap
Step 1: Prepare Your Hair
Cornrow your hair to create a smooth, even foundation. Keep the braids small to avoid any bulk under your cap.
Step 2: Put on the Wig Cap
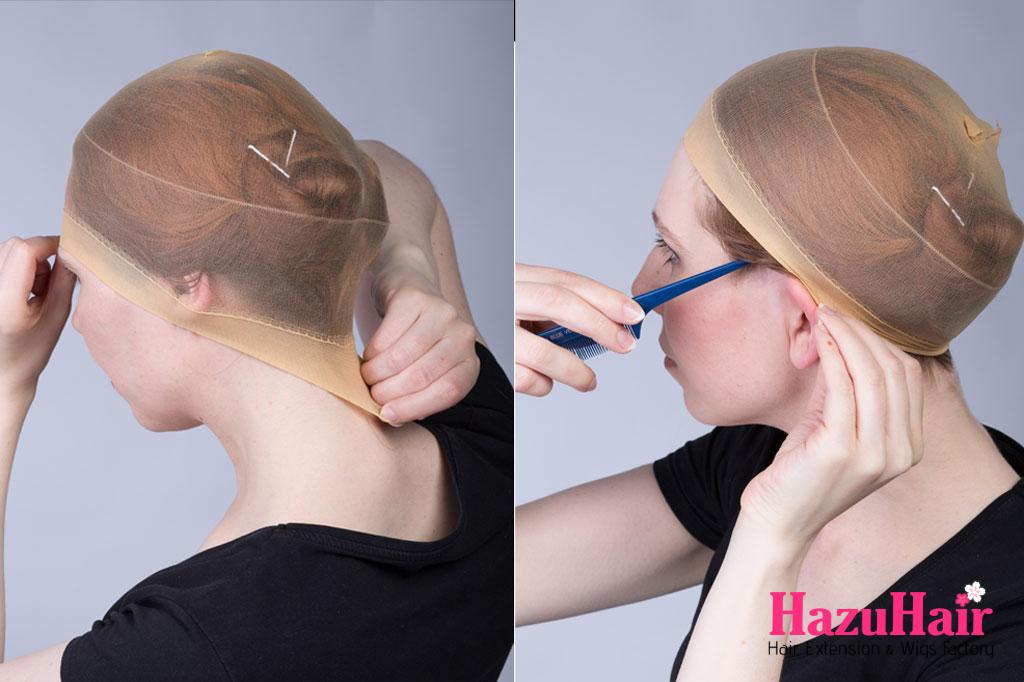
Open up the wig cap and place it on your head, gently stretching it down until all your hair and ears are fully covered.
Step 3: Create Tension
Pull the wig cap down to your eyebrows. This may feel odd but creates the tension needed to flatten your hair even more.
Step 4: Apply Gel or Spray
Use holding spray or hair gel around the perimeter of your hairline from ear to ear. Don’t worry if the product goes onto the cap — it will seep through. Avoid getting the spray on your actual hair.
Step 5: Dry the Gel or Spray
Use a blow dryer on a cool setting to dry the gel or spray completely. This may take a few minutes.
Step 6: Free Your Ears
To free your ears, pull the cap above them to create space and cut a small hole. Pull your ear through and repeat on the other side.
Step 7: Secure the Perimeter
Apply another layer of holding spray around your hairline, paying special attention to where the cap meets your ears. Dry it with the blow dryer again until completely set.
Step 8: Trim the Excess
Carefully peel back the cap and trim off any excess material that’s not held down by the gel. Start by making a vertical cut in the center of your forehead, then trim horizontally along the sides. Cut from the hairline to the bottom of the ear hole, and trim the leftover material around your ears.
Step 9: Final Touches
You can apply another layer of gel to smooth out the cap’s edges, or you can move on to installing your wig.
With this guide, your wig cap will be applied perfectly, ensuring a smooth and flawless base for your wig!
Watch more videos below!
Dos and Don’ts of Putting On a Wig Cap
Wearing a wig cap seems straightforward, but if not done correctly, it can cause issues. Follow these essential dos and don’ts to avoid any wig disasters:
Dos
- Do braid your natural hair flat: Braid your hair as close to your scalp as possible. If you can’t braid, slick your hair back and secure it with bobby pins or elastic bands.
- Do take your time: Avoid rushing the wig cap application process, especially when cutting the cap around your ears. Hasty application can cause damage to your skin or hair.
Don’ts
- Don’t forget to pull the cap down to your eyebrows: Before adhering or trimming the cap, stretch it over your eyebrows. This will give you a smooth, natural result.
- Don’t install your wig on a wet cap: Ensure your wig cap is completely dry before installing your wig. A damp cap can lead to mold and mildew developing under your wig.
How to Choose a Wig Cap
Selecting the right wig cap is crucial to achieving a natural, flawless look. Consider these factors when choosing your wig cap:
Color
Choosing a wig cap that matches your skin tone is key to making your wig look realistic. When the cap color is close to your skin, it won’t stand out where the wig is parted. If a perfect match isn’t available, choose the closest color and apply powdered foundation to blend it with your skin tone.
Material and Construction
Pay attention to the material of the wig cap to ensure comfort and protection:
- Nylon: A common material that provides a secure grip without drying out your hair. It’s great for prepping your hair for wig installation.
- Cotton: While affordable and easy to find, cotton can absorb moisture and lead to hair breakage.
- Netted Caps: With large holes for added breathability, netted caps are a great option for comfort.
- Silicone or Silk: These specialty caps are more protective and are ideal for women with little or no hair, especially those with sensitive scalps.
Pros and Cons of Wearing a Wig Cap
Deciding whether to wear a wig cap under your wig? Here’s a breakdown of the advantages and disadvantages to help you make the best choice.
Pros
- Creates a smooth base: A well-fitting wig cap helps flatten out your natural hair, making the wig lay flat against your head for a more natural appearance.
- Keeps your wig clean: Wig caps act as a barrier between your scalp and the wig, absorbing sweat, oils, and product buildup. This means you’ll have to wash your wig less often, preserving its quality and extending its lifespan.
- Secures the wig in place: Wig caps help prevent slippage, especially for those with little or no hair, giving your wig something to grip onto besides your skin.
- Adds comfort: Wigs can sometimes feel scratchy or irritate sensitive skin. A wig cap provides an extra layer of comfort, protecting both your hair and scalp from the wig’s materials.
Cons
- Can cause overheating: Wig caps can make you feel hot, leading to sweating or even scalp rashes. If you’re prone to overheating, consider choosing a cap made from breathable materials.
- May damage hair or scalp: Some wig cap materials can dry out your hair or irritate sensitive scalps, especially for those with little or no hair. Opt for gentle materials like silk or nylon if you’re concerned about this.
- Potential discomfort: Though a wig cap should fit snugly, too much pressure can be uncomfortable or even painful. If you find it too tight, try a larger size or a cap made from a stretchier material.
While the wig cap application process can take time and effort, it results in a smooth and natural look. With this guide, you’re well-prepared to select the perfect wig cap and apply it correctly, making your wig installation process seamless. Now you’re ready for the next step—wig installation. Good luck!
and…

If you’re looking to buy high-quality wigs or hair extensions, look no further than HazuHair.
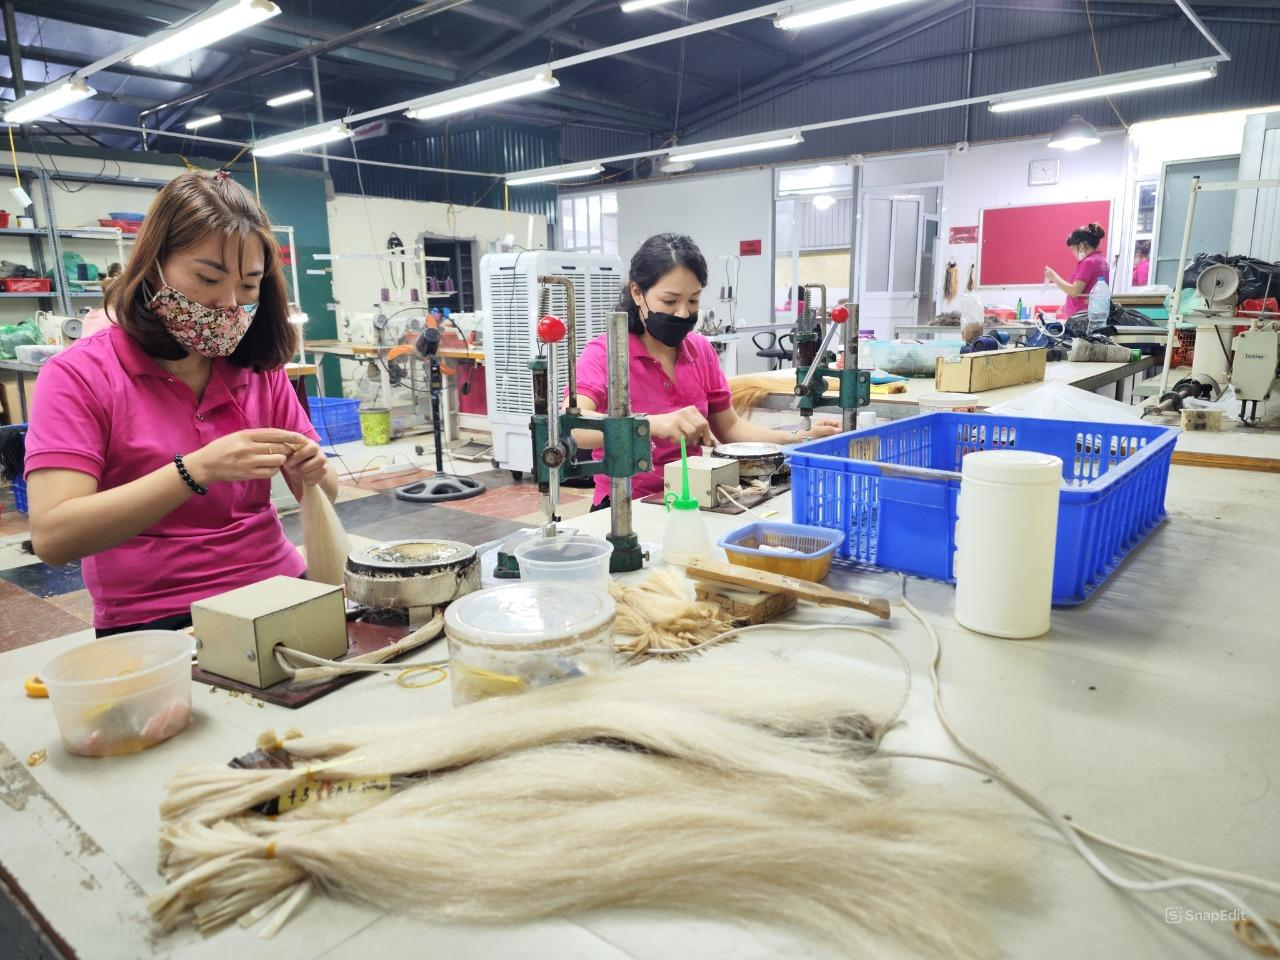
We are a trusted Vietnamese hair factory with over 100 skilled workers, offering a wide range of hair styles including wavy, curly, straight, kinky, and more.
Our products come in various colors such as natural black, ombre, blonde, red, pink, and many others.
Reach out to us today!
- Hair Factory: Tan Son 2 Village, Tan Dinh, Lang Giang, Bac Giang Province, Vietnam
- Hotline: +849 4949 3883
- Whatsapp Mrs ThanhLam: https://wa.me/84949493883
- Website: https://hazuhair.com
