Hair Care Tips
How to Remove a Hair Weave: Sew In, Closure, Frontal, Quick Weave
So, you’ve opted for a sew-in to refresh your style, grow out your natural hair, or save time on daily styling – or maybe even all three! Initially, you’re reveling in the joy of your flawless new look, confident that bad hair days are a thing of the past. But fast forward eight weeks, and that once-perfect weave might feel less than fresh (and maybe even carry a not-so-pleasant smell). That’s your sign – it’s time for it to come out.
While heading to the salon to see your trusted stylist is always an option, removing your sew-in at home is entirely doable if done with care. To help you out, we’ve compiled a step-by-step guide to safely take out your sew-in without the risk of accidentally cutting your natural hair. After all, the last thing anyone needs is a hair disaster.
Ready to learn all the best tips and tricks? Let’s get started!
How to Safely Remove Weave for Each Type of Installation
1. How to Take Out a Sew In
What You’ll Need:
- Essential Tools:
- Small scissors or seam ripper (recommended)
- Towel
- Mirror (a front and rear mirror if possible)
- Bin or bag for discarded thread and hair extensions
- Hair clip/sectioning clips
- Brush or comb
- Your favorite shampoo and conditioner
- Castor oil
- Optional Additions:
- A second pair of eyes! A friend can help you check your progress or a second mirror can provide a clear view of the back of your head.
Step-by-Step Guide:
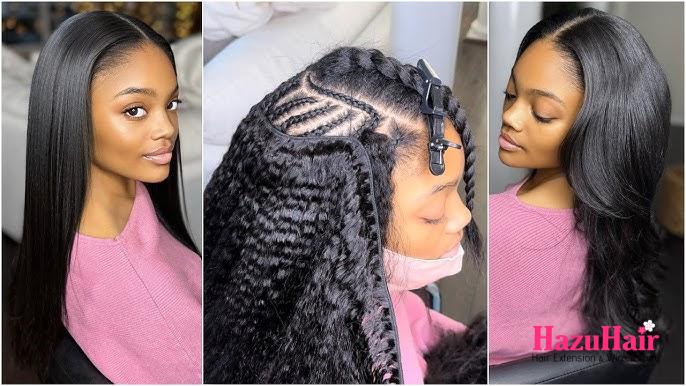
Step 1: Prepare Yourself
Preparation is key to ensuring the process is smooth and hassle-free.
- Sit comfortably on a chair or sofa; your arms will spend plenty of time overhead, so make sure you’re relaxed.
- Keep a bin or bag nearby for easy disposal of threads and used extensions.
- Protect your clothes with a towel around your shoulders, as removing weave can get messy.
Step 2: Take It Slow
Taking your time is crucial to prevent mistakes.
- Detangle the Hair:
- Divide your hair into sections.
- Gently brush or comb through each section to remove tangles.
- If you plan to reuse the extensions, handle them with care to avoid damaging the wefts.
- Work in Sections:
- Begin at the nape of your neck, where the first row of weave is sewn.
- Use a hair clip to secure the rest of your hair away from your working section.
- Remove the Thread:
- Use your mirror to get a clear view of the thread.
- Carefully cut the thread with small scissors or a seam ripper.
- If you suspect you’re near your own hair, stop and double-check with a rear mirror or by feeling the area thoroughly.
- Repeat for All Rows:
- Move methodically through each row, working upwards towards the crown of your head.
- Be patient and avoid rushing to ensure you don’t accidentally cut your natural hair.
Step 3: Cleanse and Nourish
After removing your weave, your natural hair will need some TLC.
- Detangle Again:
- Use a comb to gently work out any knots or leftover thread.
- Your hair may feel dry or matted, so handle it gently.
- Wash Thoroughly:
- Use a quality shampoo to cleanse your scalp and hair.
- Follow up with a deep conditioning treatment to replenish moisture.
- Dry and Moisturize:
- Towel dry your hair gently.
- Massage a small amount of castor oil into your scalp and hair, focusing on any areas that feel thin or have experienced shedding.
Final Tips:
- Always take your time during the removal process; it’s better to be cautious than to risk cutting your natural hair.
- Using nourishing treatments post-weave can help restore your hair’s health and promote growth.
- If you’re unsure about any part of the process, don’t hesitate to ask for help or consult your stylist.
2. Removing a Closure Install
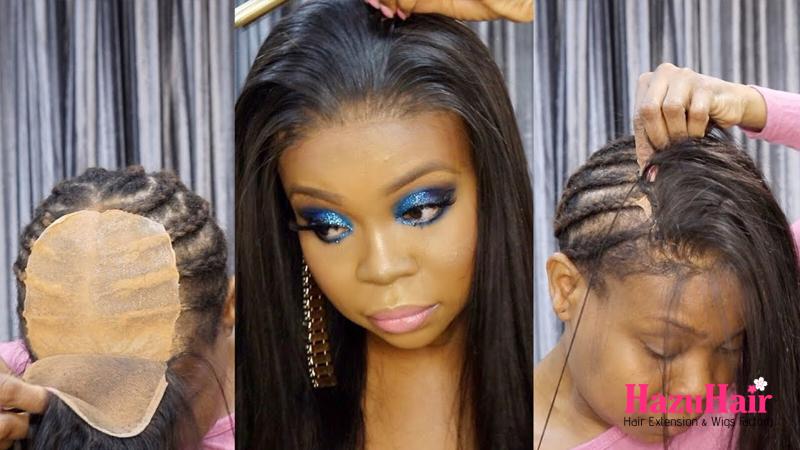
Removing a weave with a lace closure is slightly more complex than taking out a traditional sew-in, as all the hair is tucked away. Follow these steps to ensure safe removal:
- Follow the Installation Pattern: Start by removing the closure, then proceed to the wefts, the braiding net, and finally, the braids.
- Locate the Knots: Identify the knots securing the closure at the front of your head.
- Secure the Closure:
- Section off the closure, keeping the weft hair and closure hair separate.
- Carefully cut the threaded knots at the edges of the closure on both sides.
- Remove the Closure:
- If the install has loosened over time, you may be able to gently pull the closure off.
- If not, continue cutting the thread cautiously, taking care not to damage the lace or the hair.
- Remove the Wefts and Braids:
- Cut along the thread securing the wefts.
- Cut the braiding cap, then gently take down the braids underneath.
3. Removing a Lace Front Install
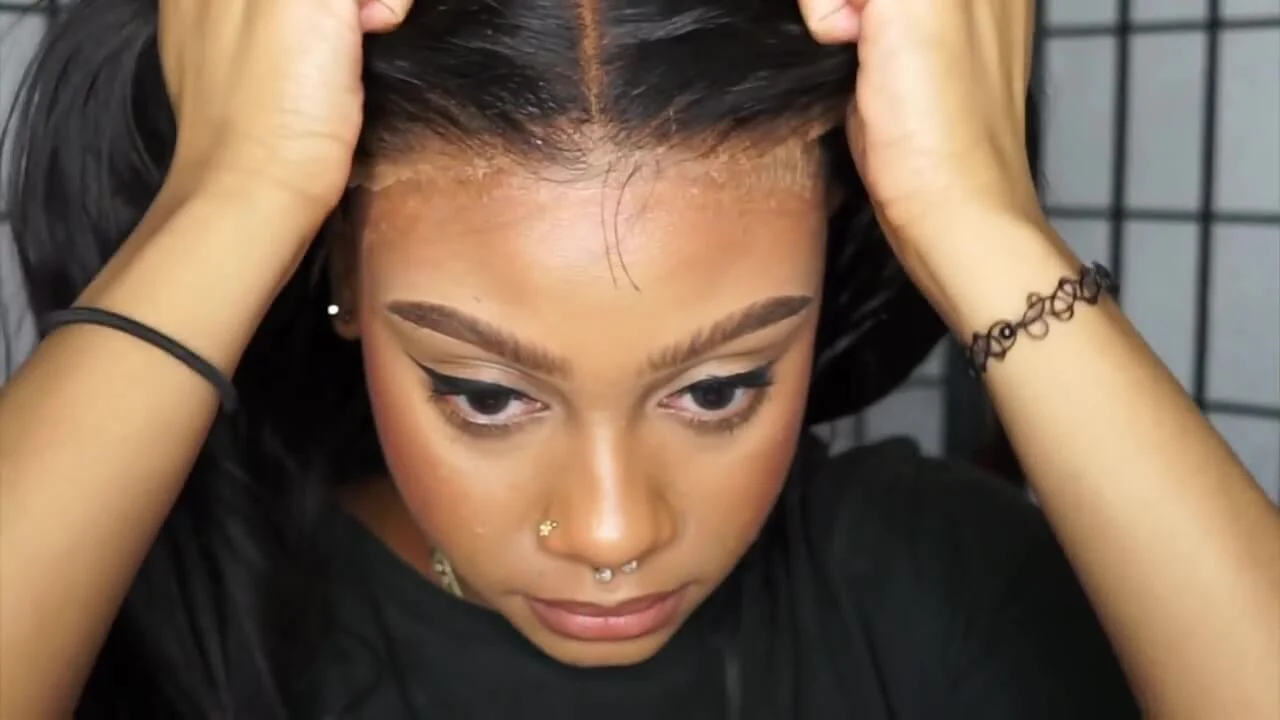
Lace fronts are more delicate and require a specific adhesive removal process:
- Apply a Solvent:
- Use a safe glue remover, such as the Safe Glue Removal solution.
- Apply the solvent to the edges of the lace front and allow it to sit for 20 minutes.
- Lift the Lace Front:
- Once the adhesive has softened, gently slide the lace free from your scalp.
- Gradually pull the lace front off, ensuring it is fully detached without damaging the lace.
- Clean Your Skin:
- Use olive oil or coconut oil to clean your edges and forehead.
- This step helps remove any residue or dirt left by the adhesive.
- Continue Removal as Normal:
- Once the lace front is off, proceed with removing the wefts, braiding net, and braids.
4. How to Safely Remove a Quick Weave
Quick weaves have unique signs that indicate it’s time for removal, including:
- Itching scalp.
- Tracks hanging off or shifting.
- The weave has been in for 4–6 weeks.
Since quick weaves often use lace glue adhesive, following the proper removal process is essential to avoid hair loss or scalp damage. Here’s a step-by-step guide to safely take out your quick weave:
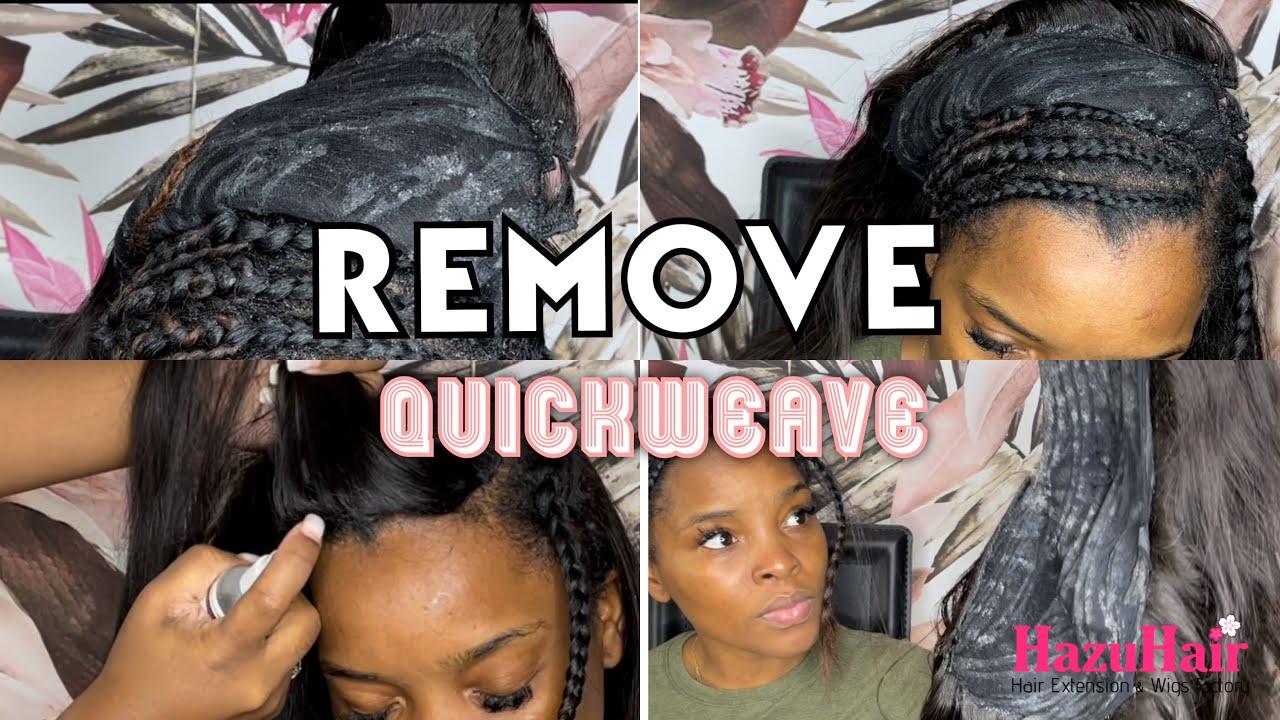
Step-by-Step Removal Guide
Step 1: Apply the Removal Solution
- Determine the adhesive used during installation. For example, if you used Salon Pro Hair Glue, it’s best to use their corresponding remover.
- Saturate your hair and edges with the removal solution. Lift the wig cap slightly and ensure all areas are covered.
- Use a product like Salon Pro 30 Seconds Super Hair Bond Remover (available at beauty stores for $3–$4).
- Leave the solution on for 15–20 minutes to allow the adhesive to dissolve fully.
Step 2: Remove the Wefts
- Gently check if the tracks are loose enough to remove without force.
- Carefully slide the wefts out of your hair—never yank or pull as this could cause damage.
- Repeat the process if some areas still feel stuck, applying more remover as needed.
Step 3: Remove the Wig Cap
- Apply additional remover directly onto the cap to dissolve any remaining glue residue.
- Slowly peel off the protective cap, ensuring no hair gets pulled in the process.
Step 4: Undo Your Braids
- Gently take down your braids, using your fingers to detangle as you go.
- For stubborn glue residue, rub a light oil (like coconut or olive oil) onto your fingers to help loosen it.
Step 5: Wash Your Hair
- Use a glue residue-specific shampoo, such as Salon Pro Glue Residue Remover Shampoo (around $5 at beauty stores). This will help eliminate leftover adhesive.
- Rinse thoroughly and detangle your hair to remove any remaining clumps or glue.
Step 6: Deep Cleanse & Condition
- Follow up with your regular shampoo to cleanse your scalp and hair.
- Apply a deep conditioner to restore moisture and nourish your hair after removal.
Final Tip
Removing a quick weave requires patience and care. Rushing the process can lead to unnecessary damage. By following these steps, you can safely remove your quick weave while keeping your natural hair healthy and intact.
Caring for Natural Hair After Weave Removal
Removing a weave can feel overwhelming, especially with shedding and knots to tackle. However, with proper care during and after the removal process, your natural hair will remain healthy and strong.
- Detangle Carefully: Start with finger detangling to minimise breakage.
- Cleanse Thoroughly: Use a clarifying shampoo and a deep conditioner to refresh your scalp and hydrate your strands.
- Trim & Rest: Trim your ends to maintain healthy hair growth and give your natural hair time to breathe before your next installation.
Weaves are a fantastic way to switch up your look while offering protective styling for hair growth.
How to Save Extensions for Reuse
Hair extensions can be reused and last longer with proper care. Here’s how to preserve them:
- Avoid Cutting Wefts: When removing your install, do not cut the wefts. This reduces shedding and keeps the hair intact for easy reinstallation.
- Keep Wefts in Order: Lay the wefts out in the same order you removed them to make future installs simpler.
- Deep Condition: Treat extensions like your natural hair. Deep conditioning removes dirt, dandruff, and product build-up, leaving the extensions soft and fresh.
- Air Dry & Detangle: After conditioning, allow the extensions to air dry completely before detangling.
Proper Storage for Extensions
To maintain the quality of your extensions, proper storage is crucial:
- Use Silk Bags: Protect extensions from dust, tangling, and environmental damage by storing them in silk extension bags or wrapping them in a silk scarf.
- Secure & Organise: Clip wefts together and store them in a dry, safe area after drying thoroughly.
Silk Extension Bags, like those from HazuHair, are an excellent option to preserve your extensions.
Things to Keep in Mind
Weaves are versatile and fun but can harm your hair and scalp if improperly installed or removed.
- If you’re unsure about removing your weave, consider visiting a professional. Salons typically charge $30–$60 for a safe removal.
- Learning how to remove weaves safely at home can save money and time.
For personalised advice or the best extension care products, stop by one of our hair stores — we’d love to share tips and tricks to keep your hair and extensions flawless!
and…
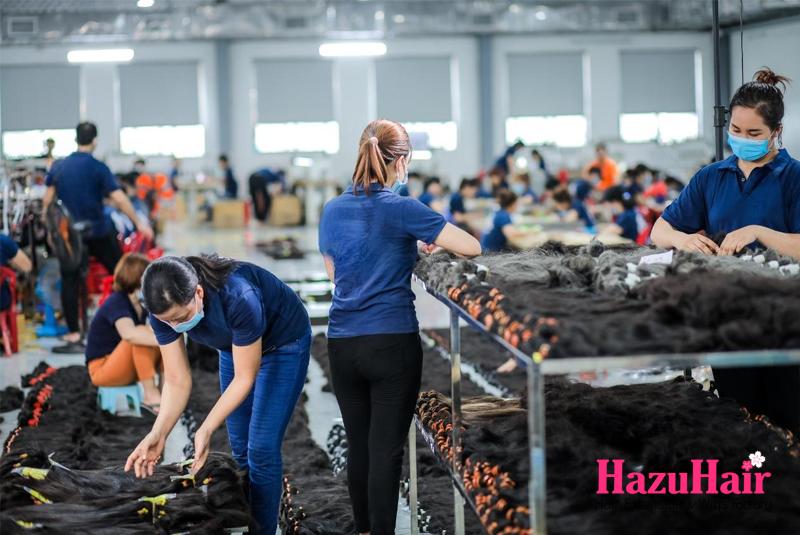
If you’re looking to buy high-quality wigs or hair extensions, look no further than HazuHair.
We are a trusted Vietnamese hair factory with over 100 skilled workers, offering a wide range of hair styles including wavy, curly, straight, kinky, and more.
Our products come in various colors such as natural black, ombre, blonde, red, pink, and many others.
Reach out to us today!
- Hair Factory: Tan Son 2 Village, Tan Dinh, Lang Giang, Bac Giang Province, Vietnam
- Hotline: +849 4949 3883
- Whatsapp Mrs ThanhLam: https://wa.me/84949493883
- Website: https://hazuhair.com
