Hair knowledge
How to get longer, thicker braids instantly
Have you ever wondered how Princess Jasmine’s bubble braid appears so thick and fluffy, or how Elsa’s braid boasts such incredible volume? While we know they’re animated characters, we have a special secret to help you achieve long, full, thick braids that would make any Disney princess envious. The key is hair extensions!
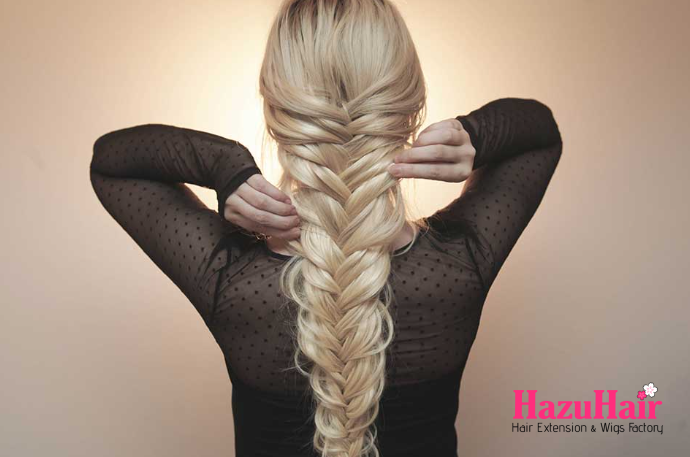
By strategically placing individual wefts of hair throughout your head while braiding, you can transform your braids, giving them fresh life and lift. Whether you’re going for a classic 3-strand braid, a fishtail braid, or a Dutch braid, follow our step-by-step guide to learn how to add hair to your braids and create the voluminous look you’ve always dreamed of.
And just so you know, real-life celebrities, princesses, beauty bloggers, and more all use hair extensions to enhance their natural locks. For instance, our friend Kassinka uses her Seamless Platinum Blonde Hair extensions to add extra thickness and volume to her braids in the tutorials below.
How to Incorporate Hair Extensions into Braids
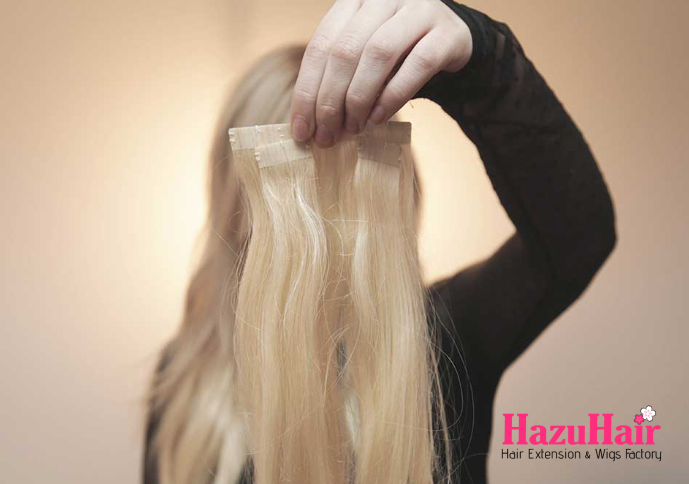
You can use either Classic or Seamless Hazu Hair extensions for these tutorials; however, Kassinka prefers her Seamless Platinum Blonde extensions because they lie completely flat against the scalp. Unsure which set is best for you? Discover the differences between our Classic and Seamless collections here.
When adding hair extensions to your braids, the secret to achieving long, thick braids lies in concentrating most of the volume toward the bottom and sides of your head. This approach prevents the ends of your braids from appearing stringy. Instead of clipping in wefts at the temples, as you might when wearing your hair down, aim to keep the bulk of the thickness below the crown of your head.
In the following three tutorials, Kassinka demonstrates a foolproof method for clipping in your hair extensions and incorporating them into various braid styles. Get ready to elevate your braiding game!
How to Instantly Achieve a Thicker Fishtail Braid
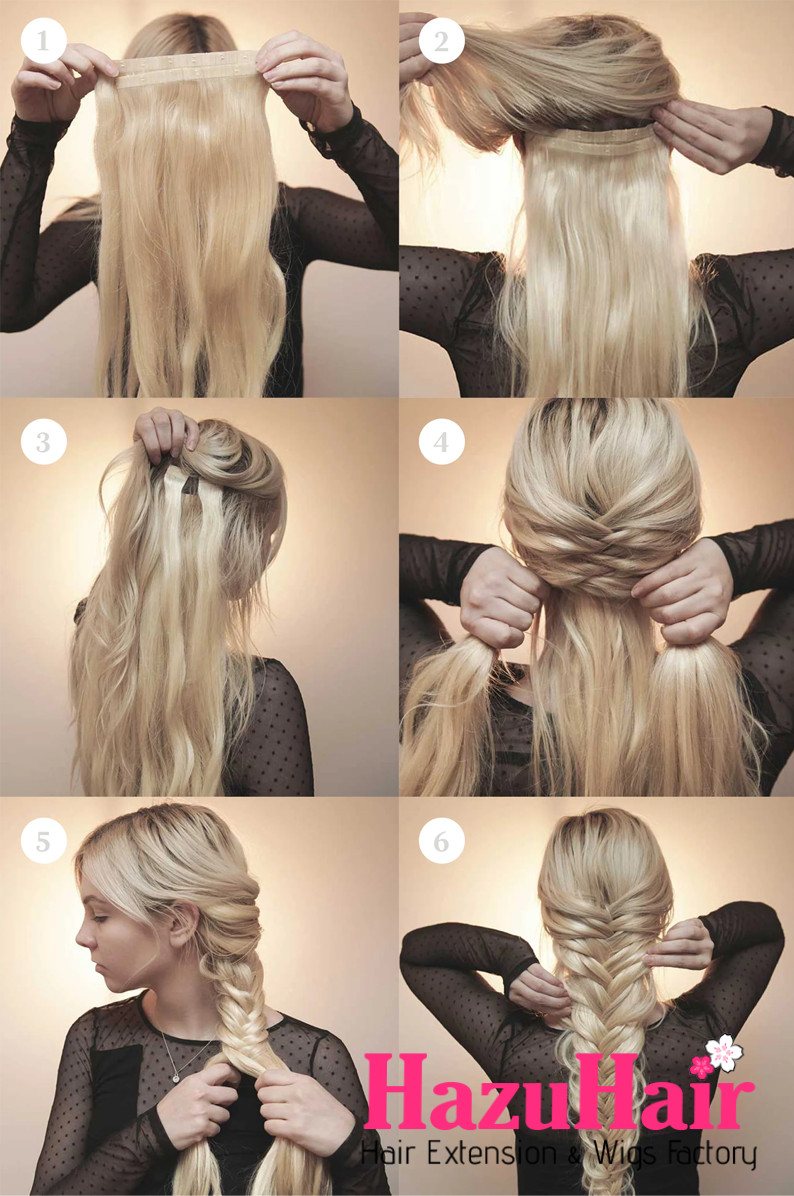
Step 1:
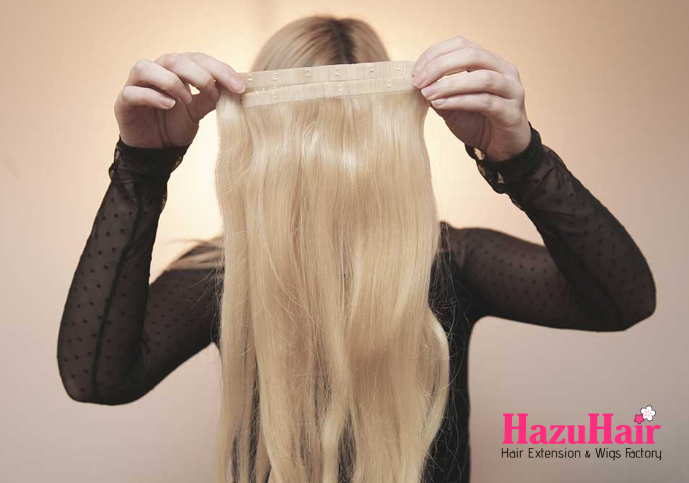
Start by gathering your Hazu Hair extensions. Take a 4-clip weft and a 3-clip weft, stacking them together by clipping the 3-clip weft on top of the 4-clip weft. Next, separate your hair just below the ears and clip this stacked mega-weft in place.
Step 2:
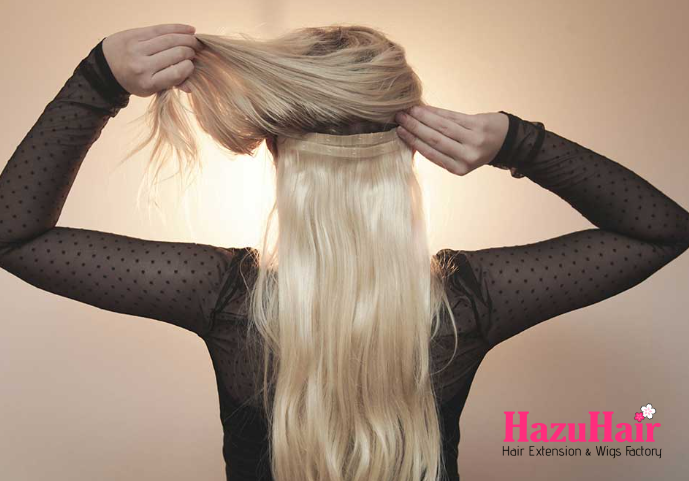
Repeat the process by taking another 4-clip and 3-clip weft, stacking them together. This time, separate your hair at the level of your ear and clip the mega-weft in.
Step 3:
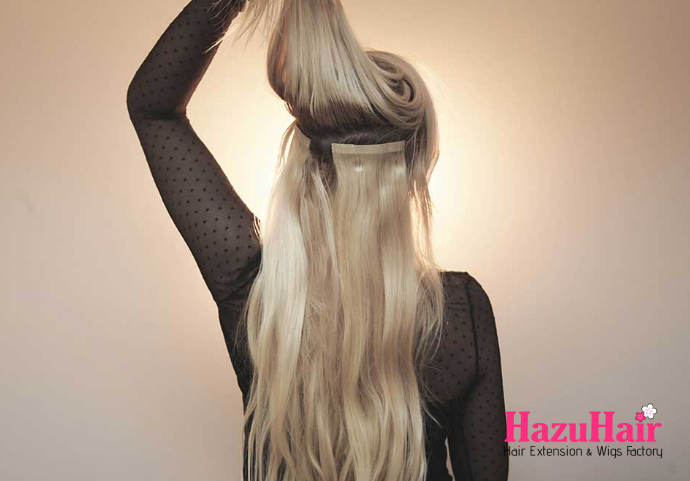
Next, grab two 2-clip wefts. Separate a section of hair just above your ear and clip one weft on the left side and the other on the right. The goal is to build as much volume on the back and sides of your head as possible.
Step 4:
Now, take all your 1-clip wefts. Separate your hair at the crown of your head, and clip in two 1-clip wefts on the left side, followed by two on the right side.

Step 5:
It’s time to start fishtail braiding! Divide your hair into two sections at the crown. Take a small strand of hair from the right side and cross it over to the left. Then, take a small strand from the left and cross it over to the right.

Step 6:
Continue this technique down your hair, incorporating a bit of hair from each side as you go. Once you reach the nape of your neck, continue the pattern with the remaining hair until you reach the end, then secure it with an elastic.


By simply adding hair extensions to your braid, you can achieve impressive thickness and length! For an extra boost, gently pinch and pull at the braid to enhance its volume even further. Enjoy your beautifully voluminous fishtail braid!
Below is a photo summary of all the steps
How to Achieve a Thicker Dutch Braid
Step 1
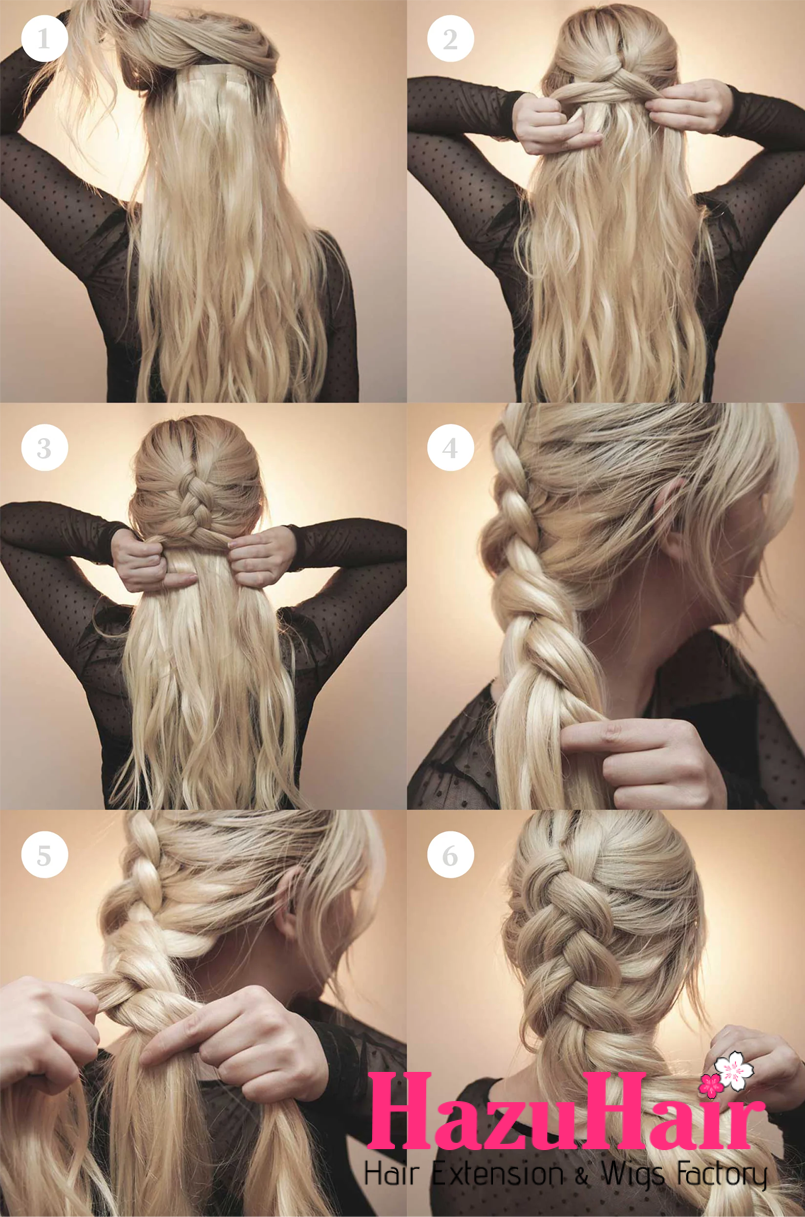
After clipping in most of your wefts, it’s time to rearrange some for the perfect Dutch braid. Remove the 2-clip and 1-clip wefts you previously clipped in. Then, stack two 1-clip wefts on either side of the 2-clip weft.
Separate your hair just below the crown, and clip in this stacked weft. The key to a thicker Dutch braid is concentrating most of the volume in the middle of your head, unlike a fishtail braid, which focuses more on thickness along the sides.

Step 2
Start braiding by gathering a section of hair at the crown of your head and dividing it into three parts. Cross the middle section over the right, then the new middle section over the left. Continue this pattern, adding more hair to each side as you go along. Keep the braid tight to maintain its shape.

Step 3
Once you reach the nape of your neck, finish with a simple 3-strand braid down to the ends of your hair and secure it with an elastic.

Step 4
To give your braid extra fullness, pancake it by gently pinching and pulling the braid apart. This will also help hide any visible wefts, ensuring a flawless look.
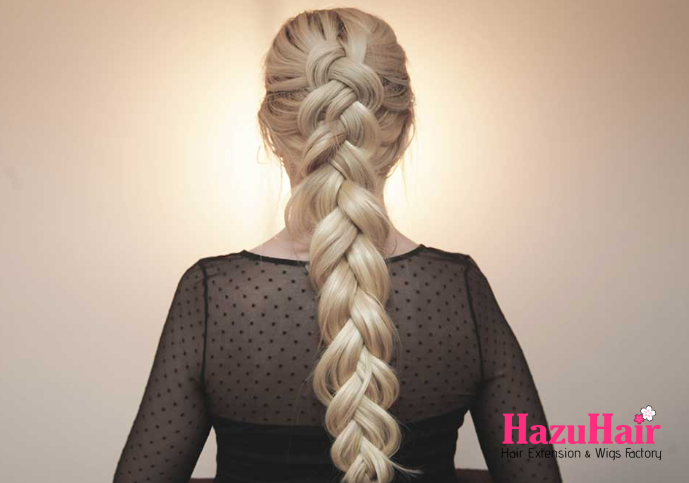
Below is a photo summary of all the steps
How to Achieve a Thicker 3-Strand Braid
Now that you’ve mastered adding hair to fishtail and Dutch braids, you’re ready for the classic 3-strand braid—no need to rearrange your wefts! Just keep them in place and follow these simple steps.
Step 1
Separate your hair into three equal strands.
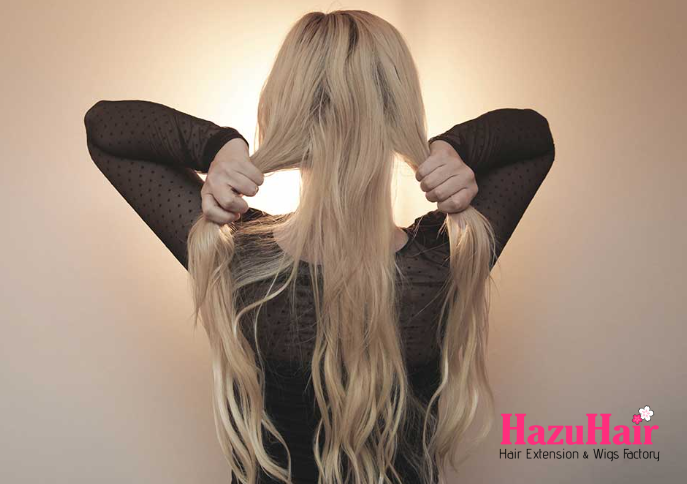
Step 2
Take the right section and cross it over the middle section.

Step 3
Next, take the left section and cross it over the middle section.

Step 4
Continue this pattern all the way down to the ends, and you’re done!

Below is a photo summary of all the steps
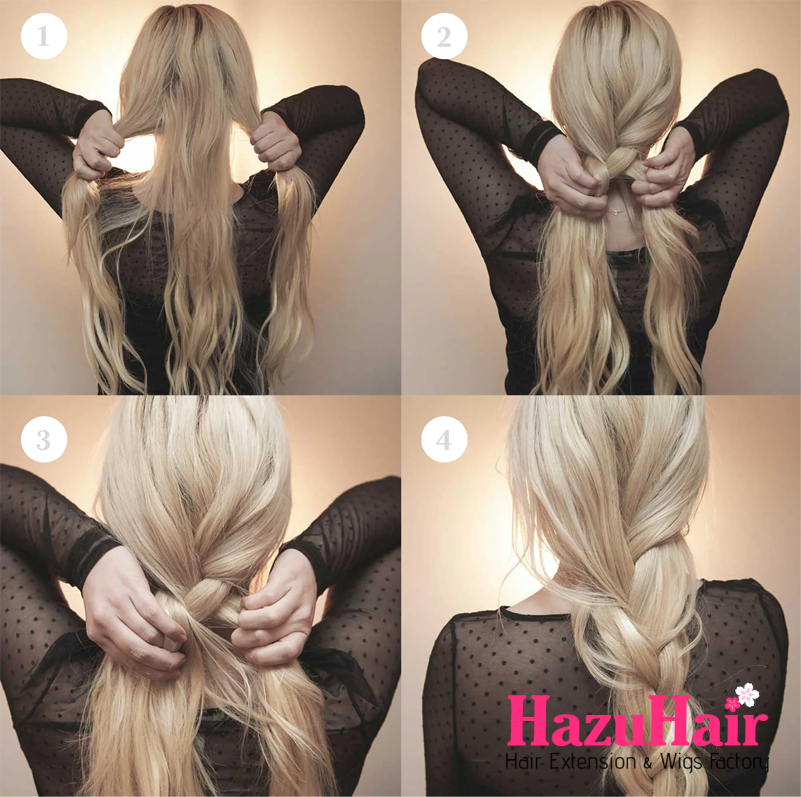
For an ultra-thick, voluminous braid, you can clip in your full set of Hazu Hair extensions and loosely braid your hair for a dramatic, mega-volume effect. The possibilities are endless when it comes to creating fuller, more luscious braids!
SHOP CLASSIC COLLECTION
By adding hair extensions to your braids, achieving long, thick, Disney-princess-worthy braids is easy! Just place each weft strategically, focusing on areas that need more volume, depending on the style of braid you’re going for.
and…

If you’re looking to buy high-quality wigs or hair extensions, look no further than HazuHair.
We are a trusted Vietnamese hair factory with over 100 skilled workers, offering a wide range of hair styles including wavy, curly, straight, kinky, and more.
Our products come in various colors such as natural black, ombre, blonde, red, pink, and many others.
Reach out to us today!
- Hair Factory: Tan Son 2 Village, Tan Dinh, Lang Giang, Bac Giang Province, Vietnam
- Hotline: +849 4949 3883
- Whatsapp Mrs ThanhLam: https://wa.me/84949493883
- Website: https://hazuhair.com
